
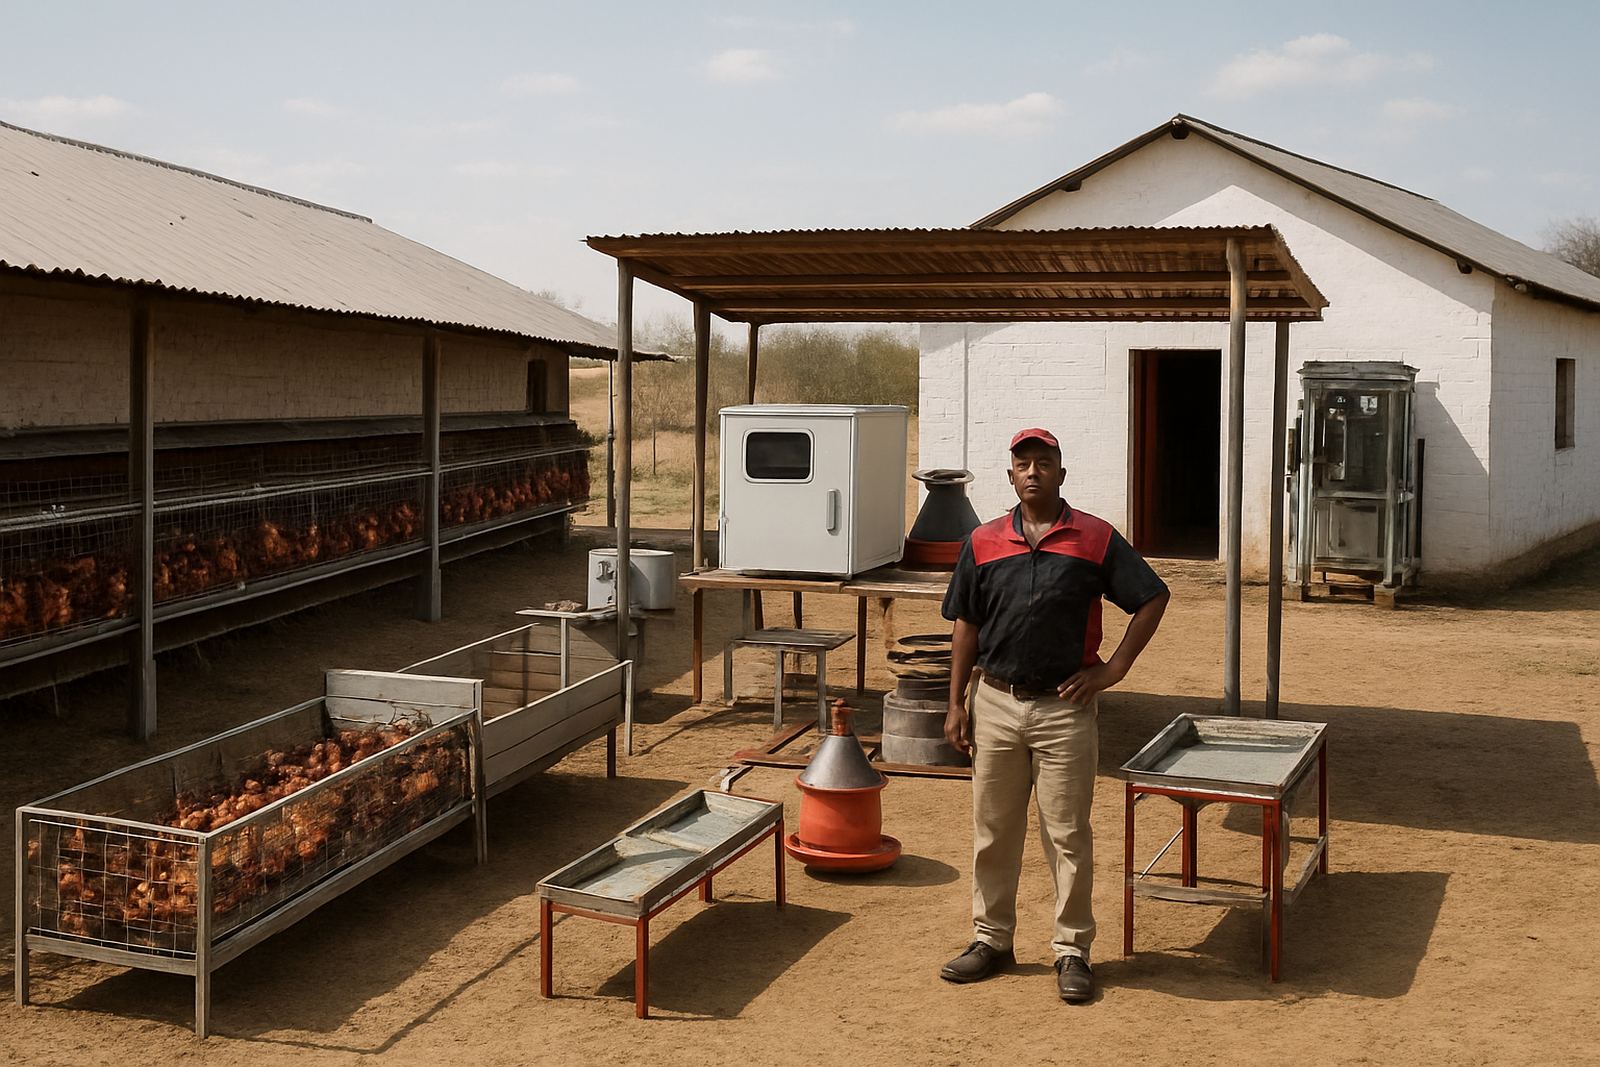
A Co-op Brief Built Around Day-to-Day Use
The client was a community poultry co-op on the outskirts of Mahikeng, serving local growers who wanted a shared production model for eggs and replacement stock. Their brief was simple on paper but practical in the field: build a clean housing solution, supply the right starter equipment, and make sure the team could run it without depending on a specialist every week.
They wanted a setup that could handle dusty conditions, warm summer afternoons, and power interruptions that are common in rural parts of the North West. The project also had to suit a co-op structure, so the equipment needed to be easy to explain, easy to clean, and easy to maintain by a small team. We worked with that reality from the start and kept the layout focused on daily routines rather than fancy extras.
Site Limits, Water Pressure and Power Interruptions
The site had enough space for expansion later, but the first phase had to fit within the available shed footprint and existing access roads. Water pressure was uneven at times, so the drinker line arrangement had to tolerate low flow without creating dry spots in the house. The co-op also asked for equipment that would keep working through short load-shedding periods and could be started up again without a complicated reset.
- Location: Mahikeng rural area, North West
- House type: community poultry house with staged fit-out
- Key constraints: dust, heat, water pressure variation, power interruptions
- Access: small delivery vehicles and local labour support
We also checked how the house would be cleaned and restocked. In a co-op environment, different people may take turns on the same task so the system has to be forgiving. That meant clear spacing, simple feed handling, and minimal moving parts where possible. A few small changes to the original house plan saved a lot of trouble later on.
What We Supplied For Phase One
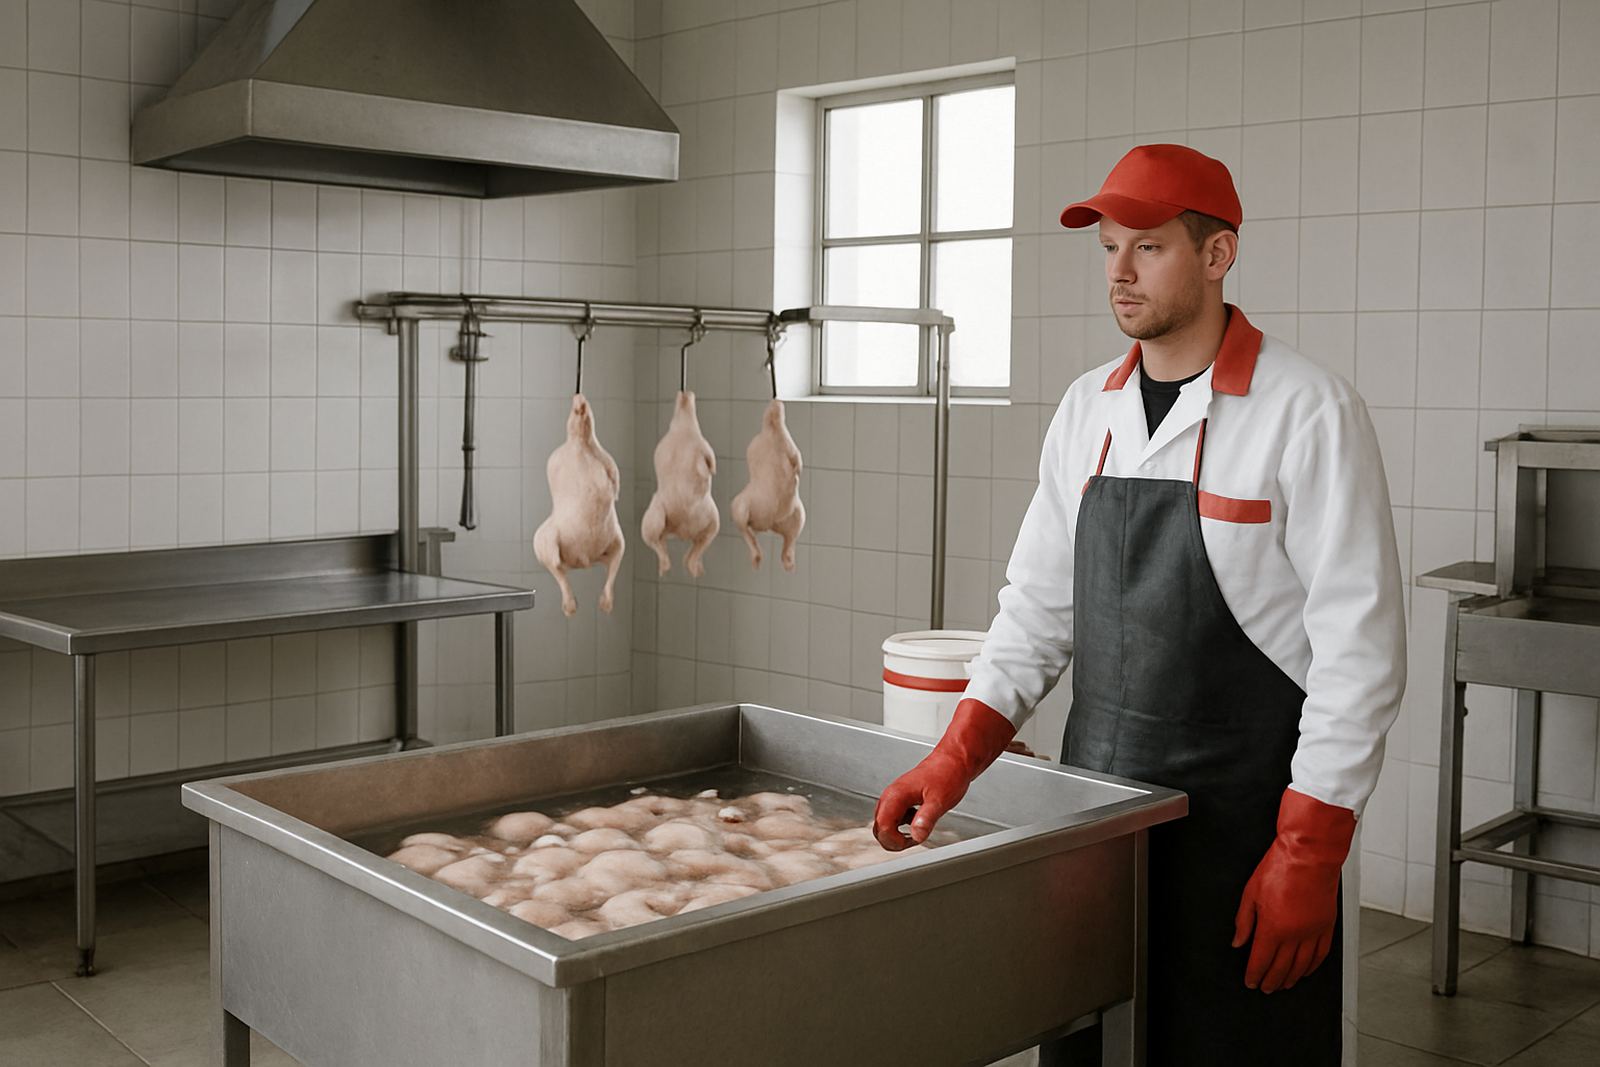
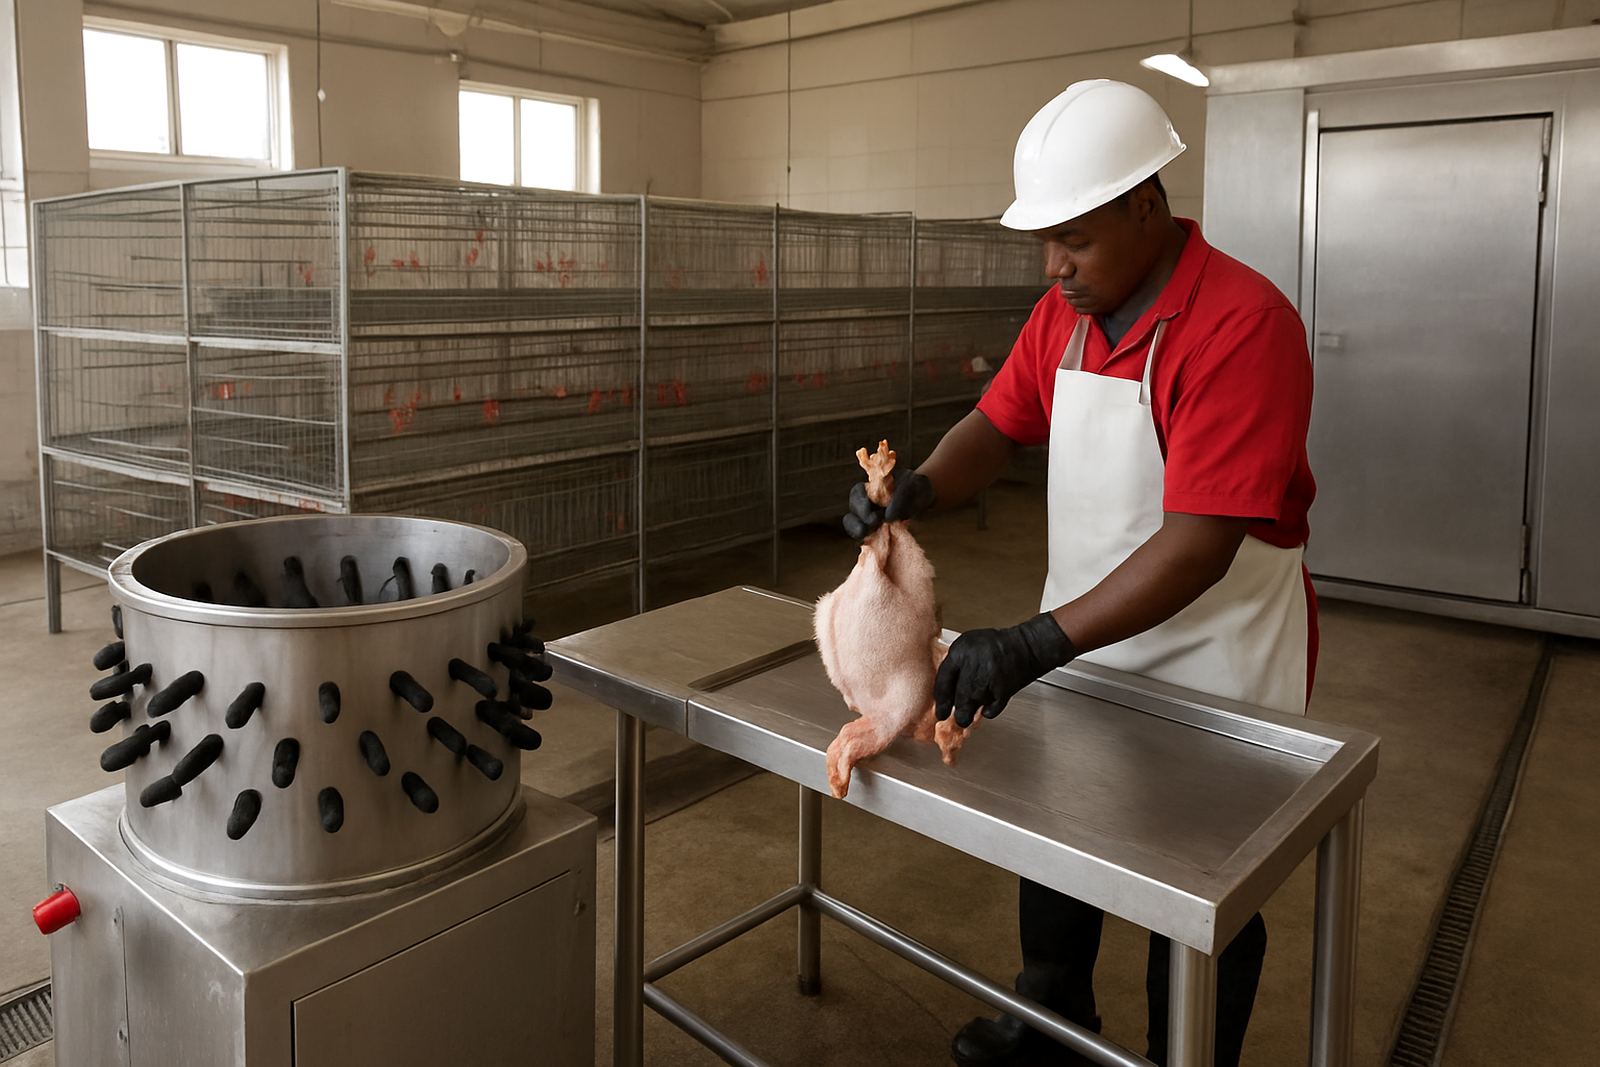
For the starter phase, we supplied practical production equipment with enough capacity to get the co-op moving while leaving room to grow. The package included laying-hen cages, incubators, brooders, feeders, drinkers and supporting abattoir-room items for future expansion into controlled processing. We also supplied fittings for house organisation and helped the team decide where each item should go before installation.
- Laying-hen cages sized for phased flock growth
- Forced-air incubators for batch hatching
- Brooders with controlled heat for chick starting
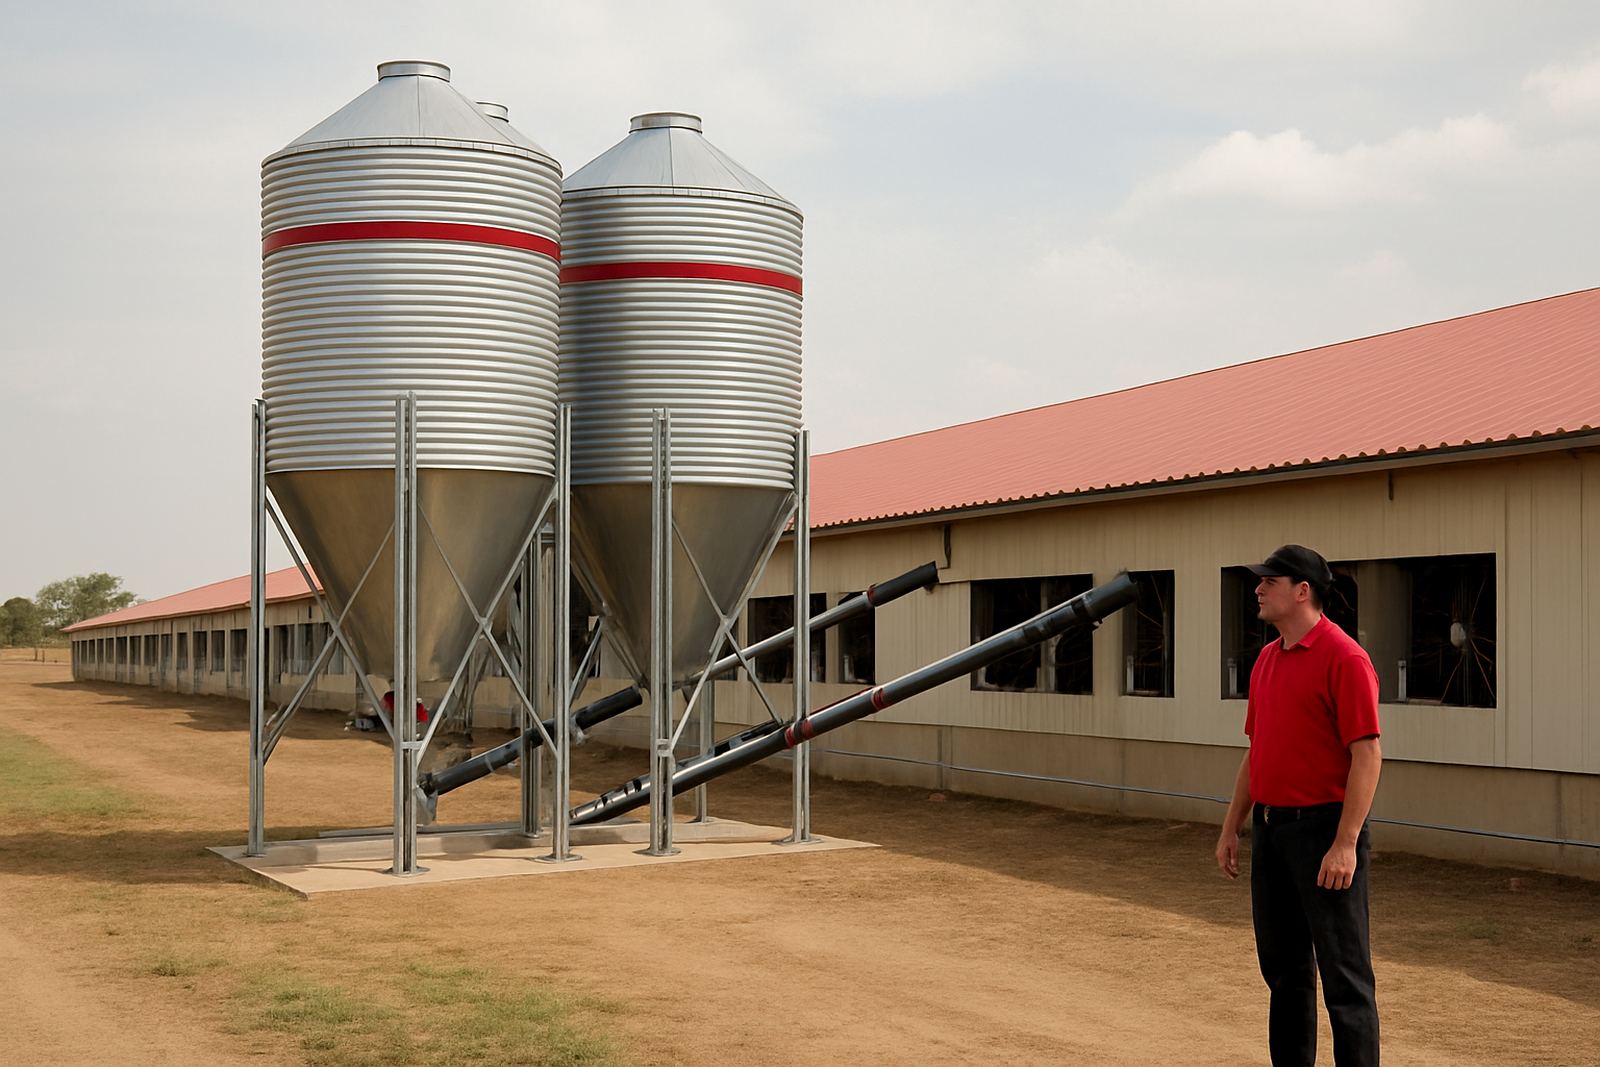
- Feeders and drinkers matched to flock age and house width
- Basic processing-room equipment for a later phase
The cages were arranged for practical access and cleaning, with enough aisle space for a person carrying trays and buckets. Feed and water points were set up to reduce waste, which matters a lot when the project is running on co-op budgets. We also confirmed that all supplied components could be sourced and maintained locally, so the team would not be waiting weeks for a simple spare.
Planning, Installation Supervision And Commissioning
The work ran over six weeks from site review to commissioning. In week one, we completed the site planning and measured the house for layout, airflow, access points, and cleaning routes. Week two covered equipment selection and final ordering. During weeks three and four, the house layout was marked out and the installation team worked under our supervision to position the cages, brooders, feeders, and drinkers correctly.
By week five we were checking water lines, fixing feed heights, and setting up the brooder area for the first chick batch. Week six focused on commissioning and operator training. That included start-up checks, safe cleaning routines, and what to do when supply is interrupted. The handover was done in person so the co-op team could ask questions while the system was still new.
- Site planning and house measurements
- Equipment selection and order control
- Installation supervision and positioning checks
- Commissioning, testing and handover
- Operator training for daily use and cleaning
Results For The First Production Cycle
Once the house was running, the co-op had a cleaner workflow and a more predictable daily routine. Feeding and watering became easier to manage, and the brooder section gave them a controlled start for young birds. The team reported fewer spills around the feeding points and better control over cleaning times, which helped them use labour more carefully. That matters when a community project is balancing several people and several priorities at once.
The project also created a sensible base for future growth. The house was set up so the co-op can add capacity in stages instead of buying too much equipment too early. In a rural setup that is often the difference between a project that keeps going and one that stalls after the first cycle. We stayed involved during the first running period so small corrections could be made quickly, not after problems had grown.
What We Would Repeat On The Next Similar Project
If we did the same type of co-op project again, we would keep the same sequence: site review, layout marking, equipment selection, installation supervision, then hands-on training. That order saves time and prevents costly changes once equipment has already been fixed in place. We would also keep the focus on simple parts that can be cleaned and replaced without special tools.
For a community poultry project, clear instructions are just as important as the equipment itself. We found that the training session made a real difference because the operators left with practical routines they could follow the next morning. That is the part that keeps a project working after the first excitement has passed.
Key facts
| Project town | Mahikeng, North West |
|---|---|
| Client type | Community poultry co-op |
| Project duration | 6 weeks |
| Primary equipment | Laying-hen cages, incubators, brooders, feeders and drinkers |
| Service scope | Site planning, installation supervision, commissioning and operator training |
| Project base | Gauteng head office, Jet Park, Boksburg |