
Start With A House That Holds Heat
Before the first chick arrives, walk the house at eye level and feel for air movement. Winter brooding is less about adding more heat and more about keeping the heat where the chicks need it. Gaps under side cladding, loose doors, broken windows and open ridge sections can waste fuel or power fast, especially in places like Bronkhorstspruit, Harrismith and the Highveld where nights drop sharply after sunset.
If the house is old, seal the obvious leaks first. Use curtaining, boards or temporary barriers where needed, but still keep safe ventilation in mind. Chicks need warm air and fresh air, not stale damp air. A house that is too tight can build moisture, which chills chicks and makes litter harder to manage.
Check the floor before placement too. Cold concrete pulls heat away from the brooder circle, so a dry base layer of litter helps. In many cases 50 to 75 mm of clean wood shavings or chopped straw is enough to start, but the bedding must be dry and even. Wet patches near drinkers should be removed straight away.
Set Brooder Heat Before The Chicks Arrive
Heat should be ready at least a few hours before placement, not switched on when the crate opens. The house, litter and equipment all need time to warm through. If you wait too late, the chicks feel the cold from the floor and start huddling before they have even found feed and water.
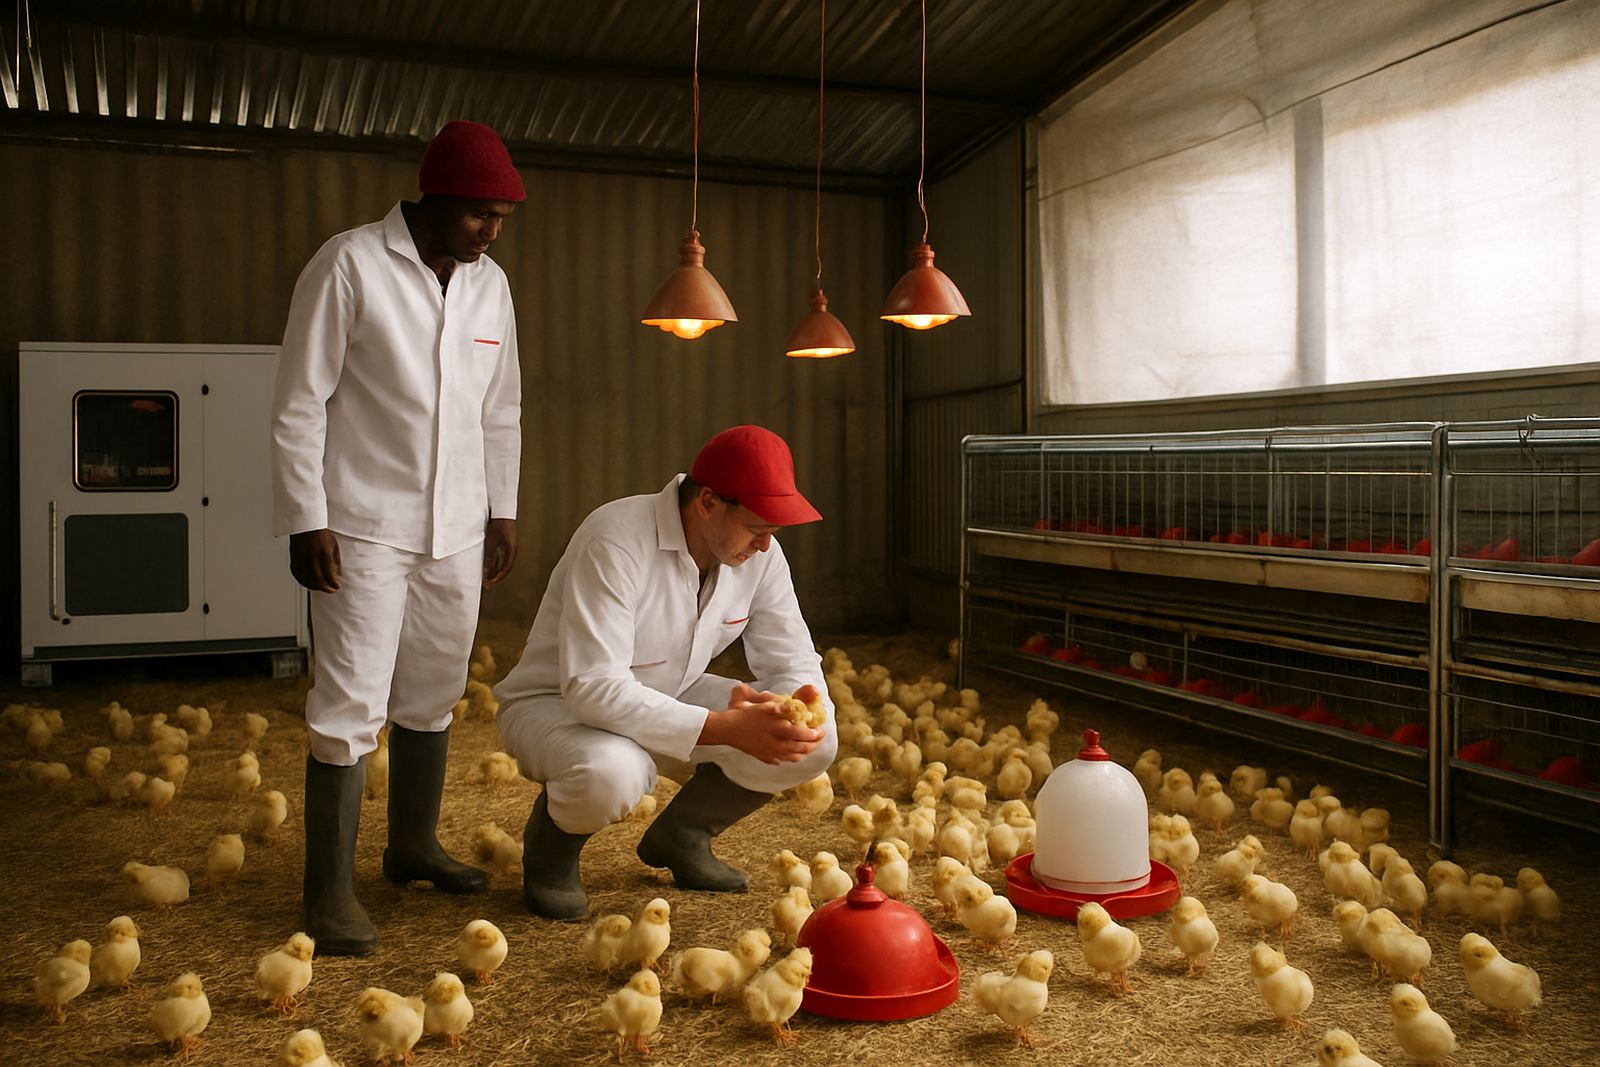
Use the brooder circle or guard to keep the chicks close to the warm zone for the first few days. Make sure the heat source is centred and that there are no cold corners where chicks can pile up. In very cold weather, smaller circles are often better than one large open area because they hold warmth more effectively.
- Pre-heat the house early enough for the floor temperature to stabilise.
- Check that heat is spread evenly, not just strong in one spot.
- Keep backup power or a plan ready for load-shedding and short outages.
- Use thermometers at chick height, not only near the roof.
During a cold snap near Ermelo, for example, a grower can lose valuable early growth if the house is warm at roof level but still cold where the chicks stand. The main lesson is simple: measure where the chicks live, not where it is easiest to read a gauge.
Watch Chick Behaviour More Than The Thermometer
Temperature readings help, but chick behaviour tells the real story. Spread-out chicks that are active, eating and drinking usually mean the comfort level is right. Piling under the heat source can mean they are cold. Moving too far away and panting can mean they are too hot. Quiet chicks standing at the edge of the heat ring often mean there is draught trouble or uneven heat.
Spend time in the house after dark and early in the morning. That is when problems show up first. If one side of the circle feels colder than the other, check wind entry points, heater position and the level of the litter. A small slope in the floor or a loose side panel can create a cold run through the house that is easy to miss in daytime.
Keep checking throughout the first week because weather changes quickly in winter. A sunny afternoon in Gauteng can be followed by a hard drop after sunset. If the chicks suddenly crowd together, do not just turn up the heat and walk away. Find out why they moved, because the cause may be airflow, damp bedding or drinker placement.
Manage Water And Feed So Chicks Do Not Lose Heat
Chicks use energy to stay warm, so they must find water and feed without delay. Place drinkers and feeders close enough for easy access but not so close that bedding becomes wet. Wet litter is one of the quickest ways to lose brood comfort in winter, because it cools the house and encourages foot problems.
Keep drinker height correct and check for leaks morning and afternoon. A slow drip may look minor, but by the end of the day it can chill a patch of litter and pull chicks out of the warm zone. If you are using nipple lines, test pressure carefully so chicks can trigger the nipples without effort.
- Use fresh feed every day and keep it within easy reach.
- Make water available from the first hour after placement.
- Remove wet bedding near drinkers before it spreads.
- Do not place feeders where chicks have to pass through cold draughts to reach them.
In the Free State and Limpopo winter mornings can be dry but very cold, so chicks may drink less if water feels icy. If needed, protect water lines from the cold and check that the temperature is suitable before chicks are placed. Small things like this make a real difference in the first 72 hours.
Plan For Power Cuts And Short Fuel Delays
Winter brooding is one of the times when a short interruption can become a serious problem. A few minutes without heat may not sound like much, but in a cold house it can lead to piling and uneven start weights. Every poultry house should have a clear plan for outages, generator changeover or fuel top-ups, and the team should know who does what.
Keep spare parts, fuses, batteries and basic tools close by. If your system depends on pumped water or fans, test the back-up before placement day. Do not wait for the first load-shedding slot to find out that the changeover switch is faulty. In some rural areas, response time is slower than expected, so on-site readiness matters more than phone calls.
It also helps to keep a written checklist near the house. When the pressure is on, people forget the simple steps. A short list with heat checks, fuel levels, alarm tests and emergency contact numbers can prevent confusion. This is especially useful on larger projects where more than one person is on shift.
A Practical Winter Routine For The First Seven Days
The first week sets the tone for the full flock. Build a routine and stick to it. Check heat, litter, feed and water at fixed times each day, then repeat the same checks after dark. The more consistent your routine, the faster you pick up small changes before they become losses.
A simple winter routine might include an early morning walk-through, a mid-morning check on drinkers and feeders, an afternoon look at airflow and a late evening check on chick spread. If you keep records, note the weather, brooder settings and any unusual behaviour. Over time you will see patterns tied to local conditions, like sharp coastal humidity changes in KwaZulu-Natal or colder inland nights in North West.
Winter brooding does not need fancy kit to work well. It needs attention to detail, steady heat, dry bedding and people who notice problems early. When those basics are in place, chicks settle faster, waste less energy and get to feed sooner, which is exactly what you want in the colder months.