
Start with the flow, not the machines
Before buying anything, map the bird flow from receiving through to chilled or packed product. In a small plant, the safest sequence is the one that keeps dirty work away from clean work and reduces backtracking. That matters in Gauteng, but just as much on farms in Limpopo or the North West where the team may be smaller and water supply can be less forgiving.
A proper sequence also helps when municipal inspectors ask how your room is arranged. They want to see that live birds, slaughter, dressing, washing and packing are separated in a sensible way. If you have a single room, you still need clear zoning with tables, drain positions, handwash points and equipment placed in the right order.
- Receiving or lairage area
- Stunning and slaughter point
- Scalding and plucking section
- Evisceration and inspection surface
- Washing, chilling and drip area
- Packing and cold storage
The first equipment in the line
The first items should support safe handling before any dressing starts. That usually means crates or holding pens, a killing cone or restraining point, a bleed-off area and a scalding unit. For a low to mid-volume operation, the scalding unit must be sized to suit the number of birds per hour, not just the number you hope to process one day. Oversized kit uses more hot water and power, which is not ideal during load-shedding or when a geyser is already under pressure.
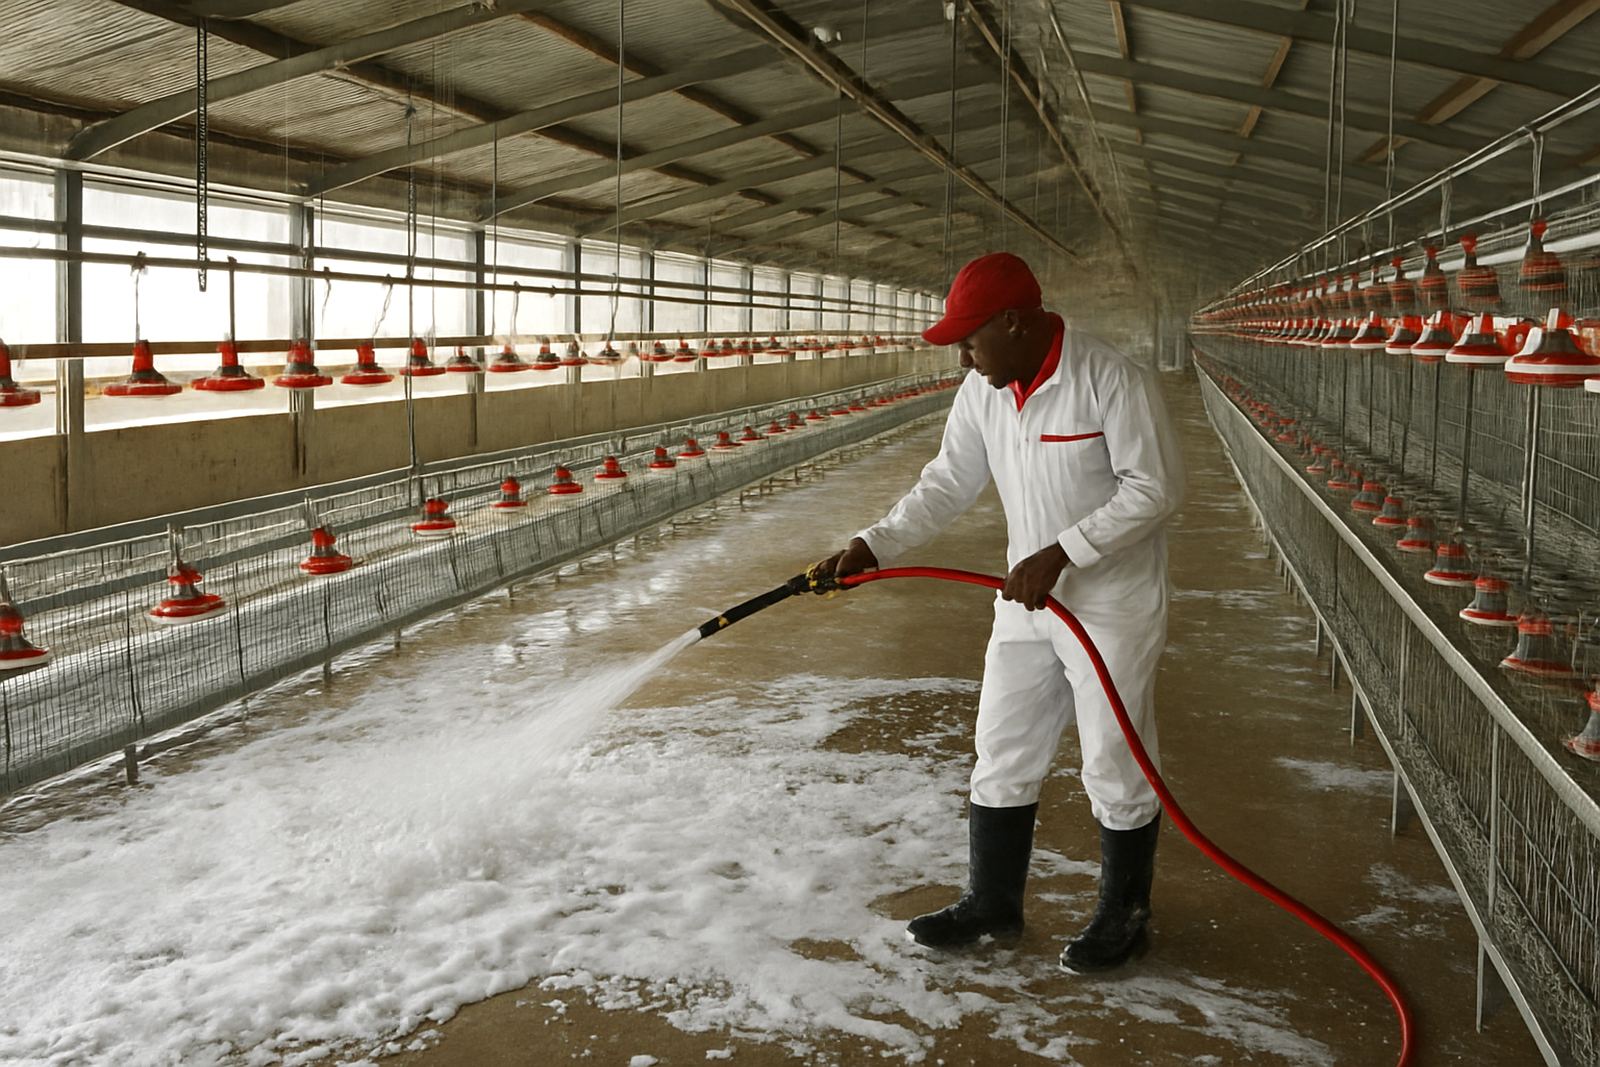
The first part of the line should also allow for easy wash-down. A floor with enough fall to drains, a hose point and good lighting make a big difference. If the operator has to carry birds backwards and forwards, the whole room slows down. That is where poor planning gets expensive fast, usually before the first month of trading.
- Holding crates or crates trolley
- Killing cones or restraint point
- Blood collection and drain channel
- Scalding tank with temperature control
- Plucker positioned directly after scalding
Plucking, dressing and inspection come next
After scalding, plucking should happen immediately while the skin and feathers are at the right condition. The plucker must sit close enough to the scalding unit so birds are moved without delay. In practice, a few extra metres can mean the difference between neat removal and torn skin. That is especially important for contract growers supplying buyers who expect a clean finish.
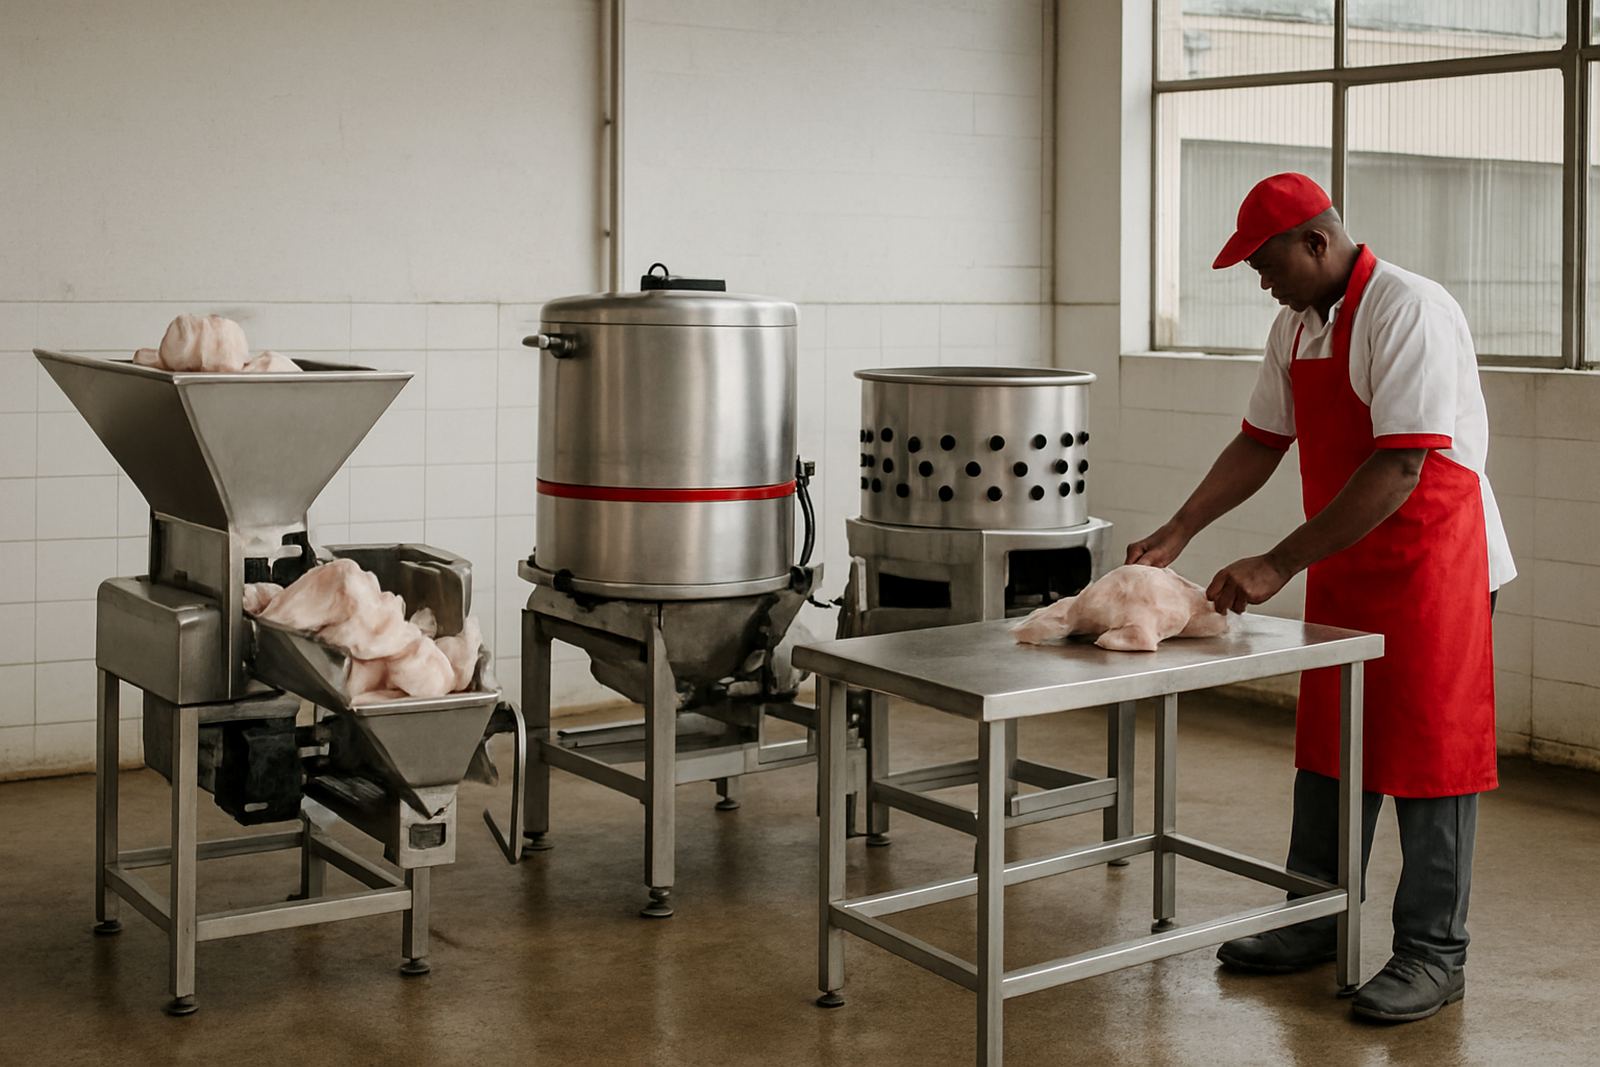
Once plucked, the bird moves to the dressing area. This is where you need a sturdy stainless steel table, good drainage and enough space for two people to work if the volume rises. A small inspection lamp above the table helps, and so does a dedicated offal bin. Keep handwash access close by. On many sites we see this stage squeezed into too small a corner, then operators start passing clean carcasses past dirty tools. It can be avoided with a better layout from day one.
- Evisceration table or dressing bench
- Inspection light and handwash point
- Offal and waste containers
- Rinse hose or spray point
- Knife sterilising setup where required
Chilling and drip control protect product quality
Once dressing is complete, the next step is cooling. A small poultry plant may use chilled water immersion or another approved chilling method depending on the intended market and local compliance needs. The key is simple: do not leave carcasses standing in warm air any longer than needed. In humid coastal conditions this becomes even more important, but inland heat in summer can be just as difficult.
Plan a clear drip area after chilling, then move product to packing or cold storage without crossing back through the dirty side. If your cold room is not beside the line, use insulated holding crates or a short transfer route. The aim is to keep the product at a stable temperature while still allowing staff to work quickly and cleanly. A layout that saves 10 minutes per batch sounds small, yet over a week it adds up and eases pressure on the team.
For sites in KwaZulu-Natal or Mpumalanga, we often advise checking condensation and floor slip risk. A clean line still needs safe footing, and wet floors are where many small plants struggle first.
Packing, cold storage and by-product handling
Packaging is not an afterthought. Put the packing table near the cold room, not back at the slaughter point. That way finished product does not travel through active processing areas. If you pack whole birds, portion cuts or mixed orders, keep labels, bags and scales in one clean zone. Your cold room door should open close to the packing point so product moves in one direction only.
By-products also need a set route. Feathers, offal, condemned product and wash water all require different handling. Do not let waste containers sit beside packing materials. A small mistake here can create smell, flies and inspection problems within days.
- Packing table with scale and label point
- Vacuum or bag sealing equipment where needed
- Cold room or chilled holding cabinet
- Waste bins with lids
- Separate route for offal and condemned material
How to sequence a small plant in a real South African setting
Take a 250 bird a day operation outside Bronkhorstspruit as an example. The owner may start with one slaughter line, one plucker, a single dressing table and a small chiller. If the room is arranged in the right sequence, two operators can handle the flow without crossing paths. If the sequence is wrong, the same two people spend their time waiting, backtracking and re-cleaning surfaces.
We usually begin with site planning, then equipment selection, house layouts, installation supervision, commissioning and operator training. That order matters because the best equipment can still underperform in a badly laid out room. A good sequence also makes future upgrades easier, whether you add more feeder lines, extra chilling space or a bigger processing room later on. Keep the drainage, electrical points and water supply ready for expansion, because moving those after fitout is costly and often messy.
For poultry projects across Gauteng, Mpumalanga, Limpopo, North West, Free State and KwaZulu-Natal, the same rule applies: follow the bird, follow the hygiene line, and let the room work with the staff rather than against them.