
Why the empty house still needs a full job
Once birds leave, the house is not ready for the next flock just because it looks empty. Dust, wet litter, feed fines and biofilm can sit in corners, pipes, fan guards and feeder lines, and those are the places that cause trouble when the next birds come in. In poultry work, what you do in the gap between flocks often shows up in the next six weeks of performance.
The aim is simple: remove organic matter, wash properly, disinfect in the right order, and leave the house dry enough for clean re-entry. That means every item that touched the last flock must be checked, cleaned and set aside for the next cycle, including drinkers, feeders, chick guards, heaters and control panels. A tidy house is not enough if the inside of the equipment still carries dirt or scale.
At our Jet Park base in Boksburg, we often remind growers that cleaning between batches is as much about equipment readiness as hygiene. A house in Mpumalanga or Limpopo may face heat, dust and water quality issues, while a coastal site in KwaZulu-Natal may fight damp and mould. The method stays the same, but the detail changes.
Start with dry removal before any water goes in
The first step is always dry cleaning. Sweep out litter, scrape manure build-up, remove loose feathers and collect feed spills before switching on pressure washers. If you wet the floor too early, you turn dust and manure into a sticky layer that is harder to remove and can spread into drain points and cracks.
Use the dry clean stage to inspect the house properly. Look for broken nipples, worn pans, cracked troughs, loose brackets, blocked air inlets and damaged wiring conduits. It is cheaper to find those faults now than after placement, when the whole house is full and time is tight.
- Remove all feed from lines, bins and hoppers.
- Take out portable equipment such as chick guards and loose drinkers.
- Brush down ledges, fan blades, motors guards and cage frames.
- Check for rodent activity, especially around corners and feed stores.
If the house has laying cages or a multi-tier system, pay close attention to egg belts, manure belts and contact points. Those areas collect grime in thin layers and can be missed if the team rushes through. A good dry clean saves time later, and yes it also saves water which matters on farms with borehole pressure limits.
Wash the equipment in the right order
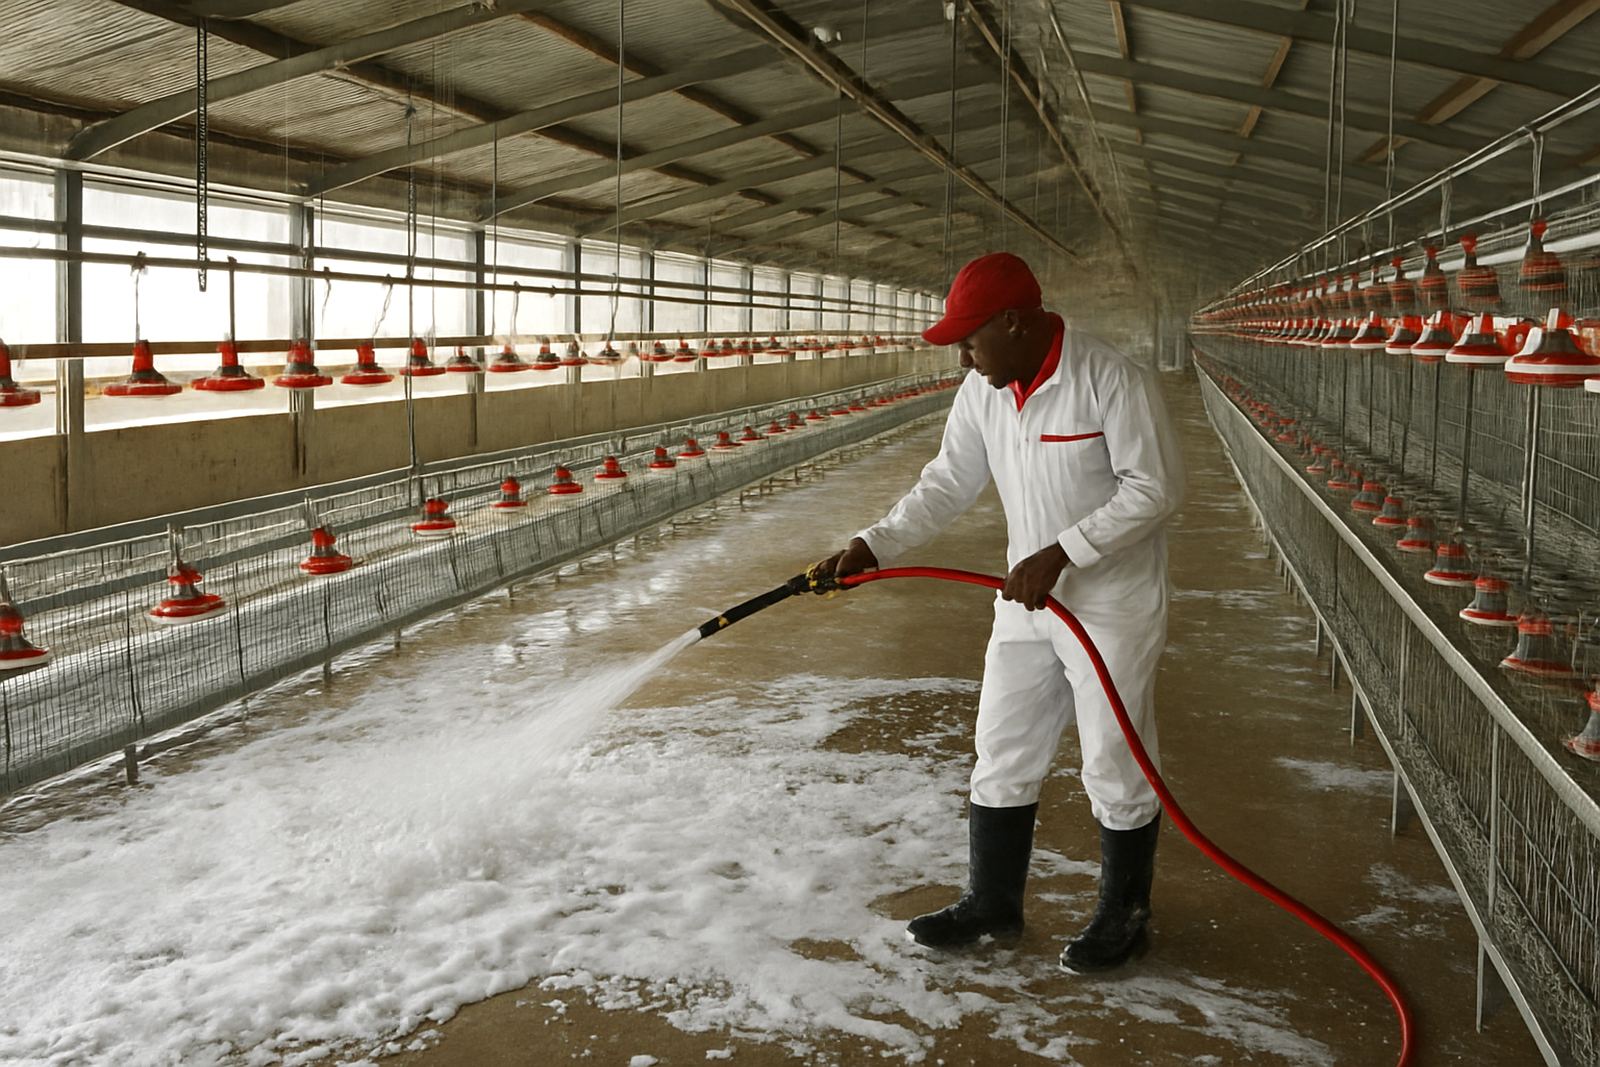
After dry removal, washing should follow a planned order from top to bottom and from clean to dirty areas. That way, you do not recontaminate places you have already cleaned. Start with overhead fittings, fans, ducting and pipes, then work down to walls, floors, doors and drains. Leave the floor until last so you are not walking dirt back into cleaned areas.
For drinker lines, flush thoroughly to remove scale and sediment. In many parts of Gauteng and North West, mineral build-up can be a problem, so a line that looks clear from the outside may still carry deposits inside. Feeders should be washed, scrubbed and allowed to dry fully before storage or reassembly. Any seals, clips or worn cups that do not clean properly should be replaced, not kept on for another round.
- Use clean water with suitable pressure, but avoid forcing dirt deeper into fittings.
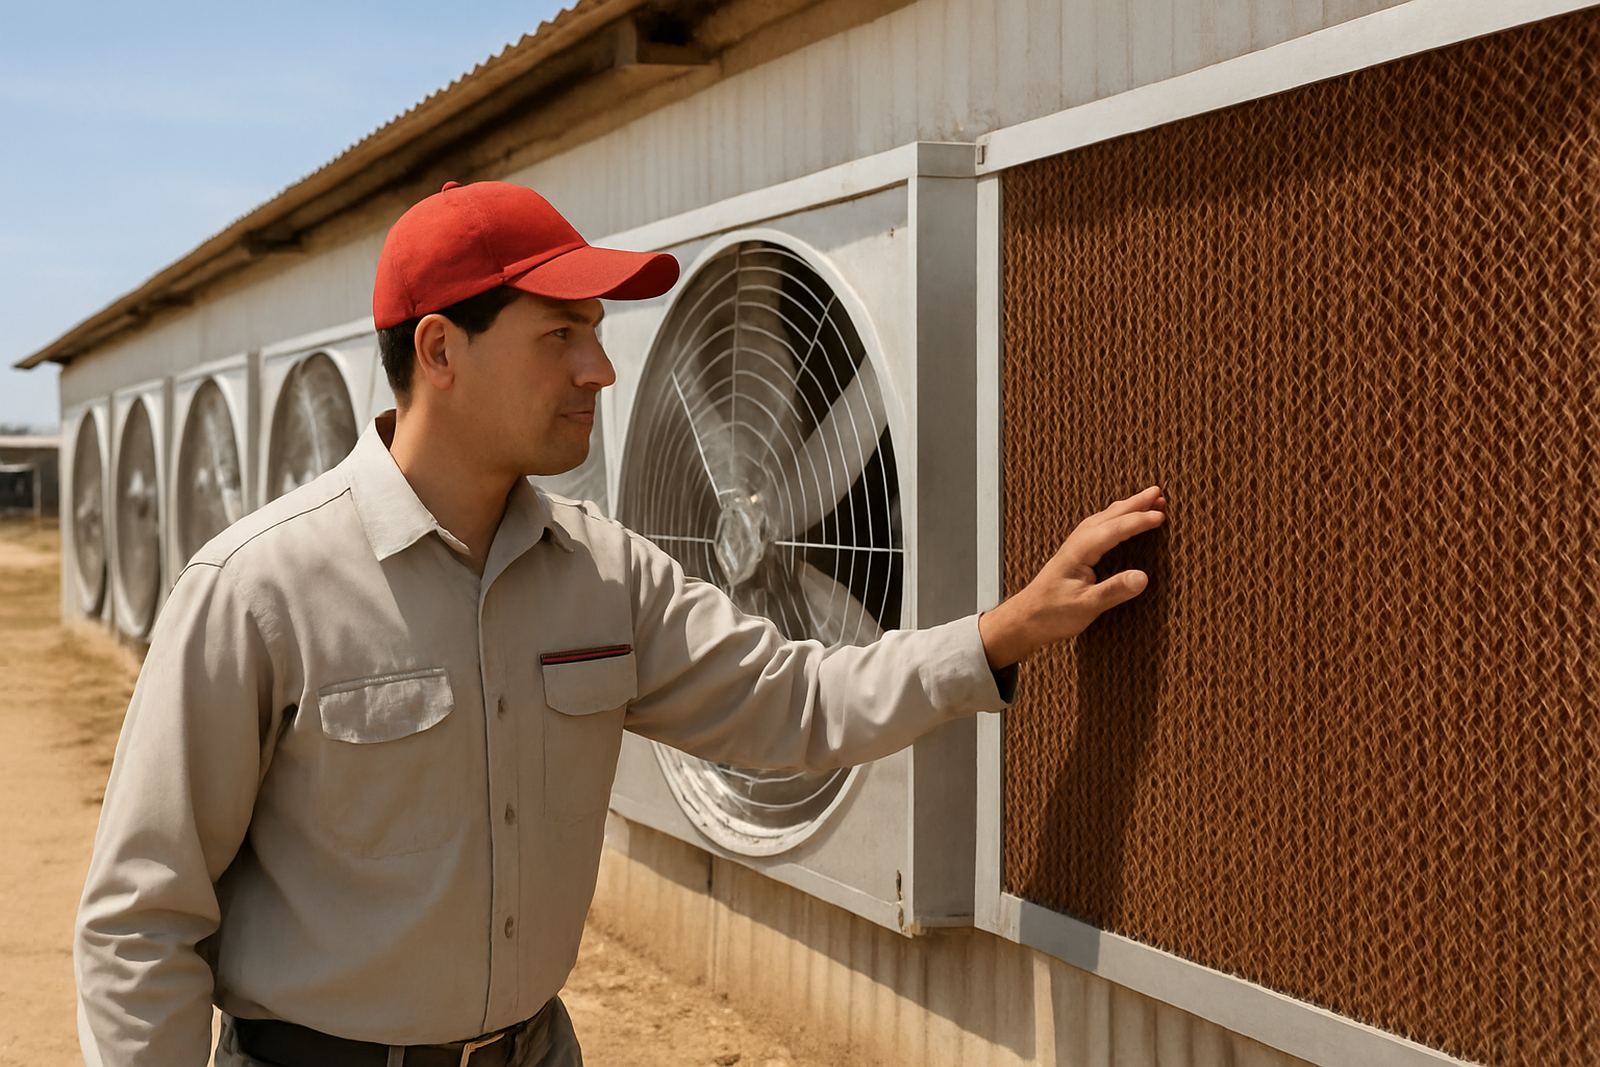
- Clean fan guards, cooling pads and inlet shutters where dust collects fast.
- Wash crates, trolleys and processing-room surfaces away from the bird area.
- Rinse drains and channels so dirty water does not stand overnight.
Where a house has abattoir-linked handling or holding areas, the cleaning line must extend into those rooms too. Blood, fat and feather debris need separate attention from poultry house dust. Keep those tools apart, because mixing them is how people spread contamination without noticing.
Disinfection only works after the dirt is gone
People often want to skip straight to disinfecting, but disinfectant cannot do its job through soil and grease. If organic matter is still present, the chemical gets wasted on the dirt instead of the surface. That is why washing, rinsing and drying come before disinfection, every time.
Once the house is visibly clean, apply the correct disinfectant at the right dilution and contact time. Follow the manufacturer’s instructions and local safety rules, and make sure spray equipment is working properly. Do not overdo the strength thinking it will compensate for poor washing, because it wont. It can damage surfaces and leave residue in places where chicks later drink or feed.
Pay attention to touch points and high-risk areas such as door handles, control boxes, footbaths, bait stations and entry mats. Keep footbaths fresh and change them often, not only at the start of the clean-out. If the same muddy boots go through the house and then the store room, the clean-up is already compromised.
Drying time is part of the job, not a delay
A house that looks clean but stays damp can still create problems. Moisture feeds bacteria, encourages mould and shortens the life of metal fittings and electrical parts. In humid areas like parts of KwaZulu-Natal, drying time matters just as much as the wash itself. In colder inland areas, poor air movement can leave corners wet for days if fans are not used correctly.
Open vents where weather allows, run circulation fans, and make sure water does not pool under equipment or in low spots. Check under feed bins, behind curtains and beneath cage banks where air may not move well. If you can still smell wet litter or detergent strongly, the house is not ready yet. The birds should not go into a damp house, full stop.
- Leave enough time between wash and placement for surfaces to dry fully.
- Check hidden areas such as under pipe runs and behind control panels.
- Store cleaned equipment off the floor on dry, marked space.
- Replace wet cardboard, bagging or packaging before new stock arrives.
Drying also protects electrical items. Moisture around switches, sensors and motors can cause faults just when the next flock is due. A short delay now is better than calling for repairs after birds are in place.
Reset the house so the next flock starts right
The final stage is re-setting the house for the next batch. That means putting equipment back in the correct positions, checking heights and spacing, confirming water pressure, testing feeders and verifying heat sources before placement day. If the house layout has changed, update the marks on the floor and make sure the crew understands the new setup.
This is also the time to review what failed in the last cycle. Were there blocked nipples, uneven feed flow, weak fan performance, or a section that stayed too damp? Use the clean-out as a chance to make the house better, not just cleaner. Small fixes now can prevent the same issue repeating for another 6 to 8 weeks.
For growers running expansion or mixed-age sites, the clean between batches is a good point to check spare parts, renew damaged lines and plan the next maintenance window. A site in Free State may need different timing from a house in Limpopo because of temperature swings and labour access. The basics stay the same, but local conditions shape the schedule.
A local example from a busy Gauteng turnaround
A broiler unit near Bronkhorstspruit recently had only a short turnaround before the next placement. The team removed litter, pressure washed the house, flushed drinker lines and found that two sections of feeder chain had worn links. Because the issue was caught during clean-out, the parts were replaced before chicks arrived, not after birds started bunching at the line.
That same farm also changed its drying routine by keeping the side inlets open longer during the afternoon and running fans for an extra few hours. It was a small change, but it reduced damp patches under the lines and made the house easier to set. The owner said the clean-out took more discipline, but the next flock started cleaner and the crew had fewer call-backs. Small thing, big effect.
Cleaning between batches is not glamorous work, yet it is the difference between carrying problems forward and starting fresh. When the house, equipment and people all follow the same reset routine, the next flock gets a fair chance from day one.