
Why hatchery zoning matters from day one
A hatchery is not just a room with incubators in it. It is a work flow, and every step from egg receipt to chick dispatch carries a hygiene risk if people, crates, tools and air move the wrong way. Clear clean and dirty zones give your team a simple rule to follow, which matters when the day is busy and the load shedding schedule has already shifted your plan.
When the layout is vague, clean eggs can pass close to used trays, waste can travel through the same passage as chick boxes, and staff end up correcting problems with extra cleaning instead of preventing them. That costs time, water and consumables. It also makes it harder to keep records straight when you need to show where a fault started.
Set the dirty side first, then protect the clean side
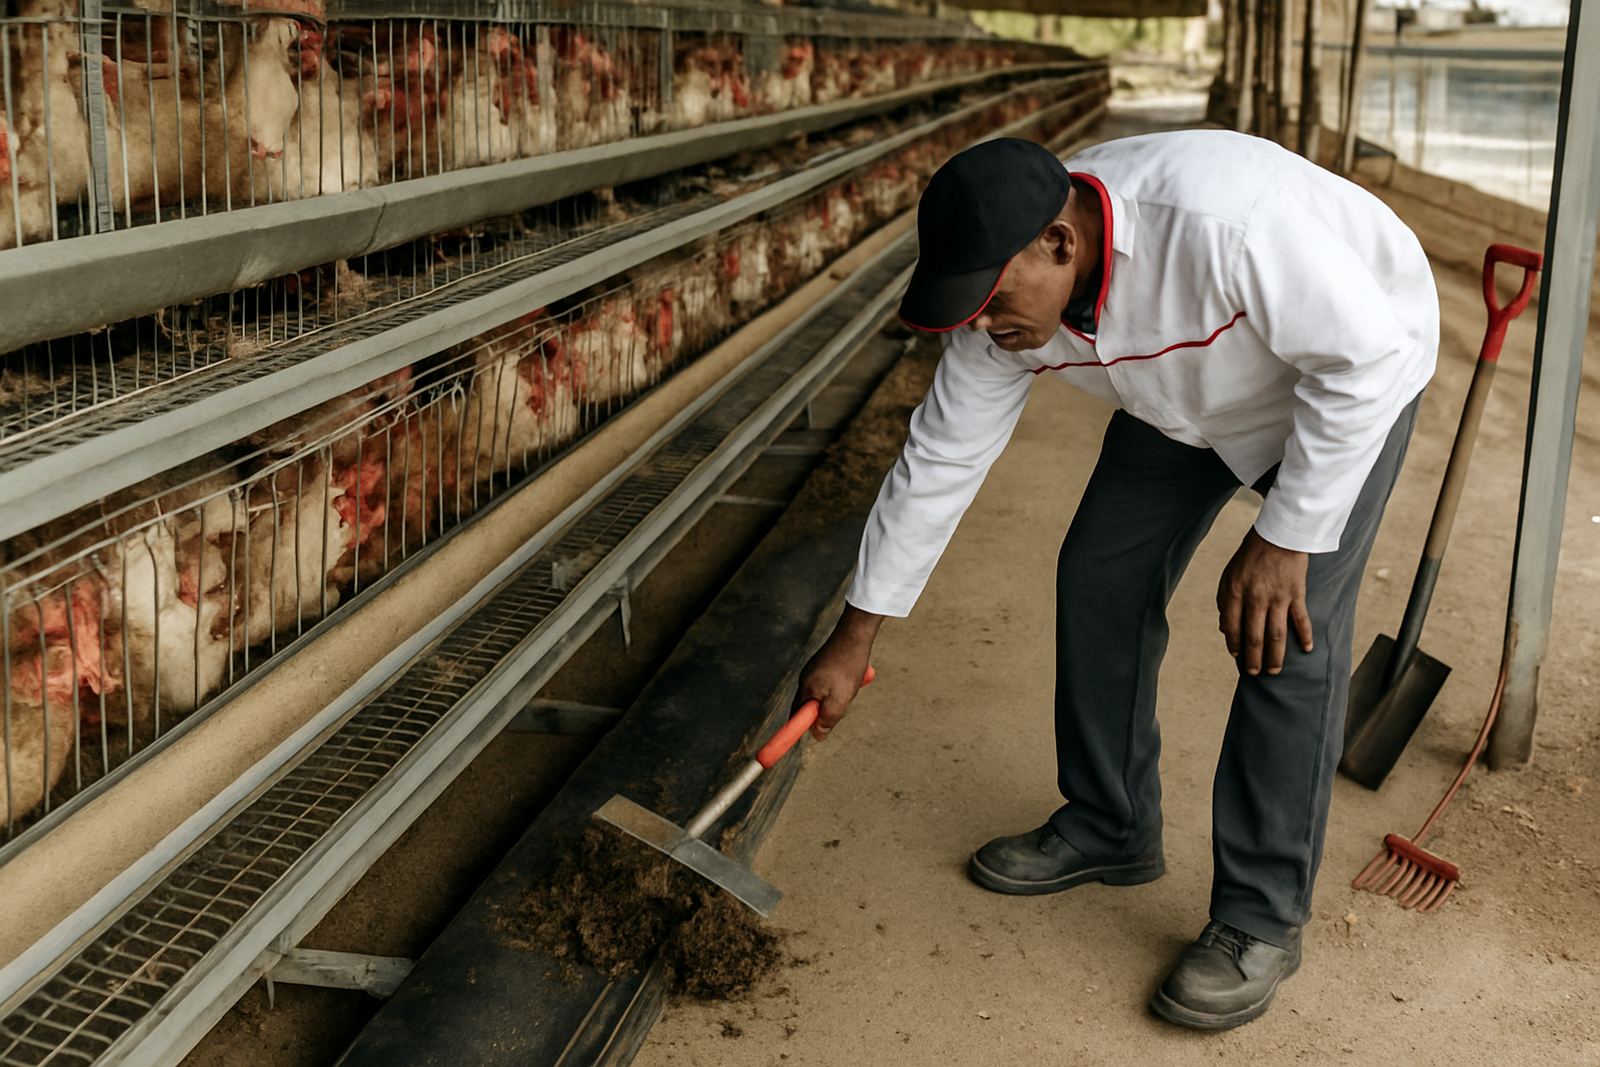
Start with the dirtiest points on site and work back towards the cleanest. The dirty side normally includes egg intake, crate wash, waste holding, fumigation waste, used trays and any area where dusty cartons or soiled boots enter the building. These points should be physically separated from setter rooms, hatcher rooms, chick grading and packing.
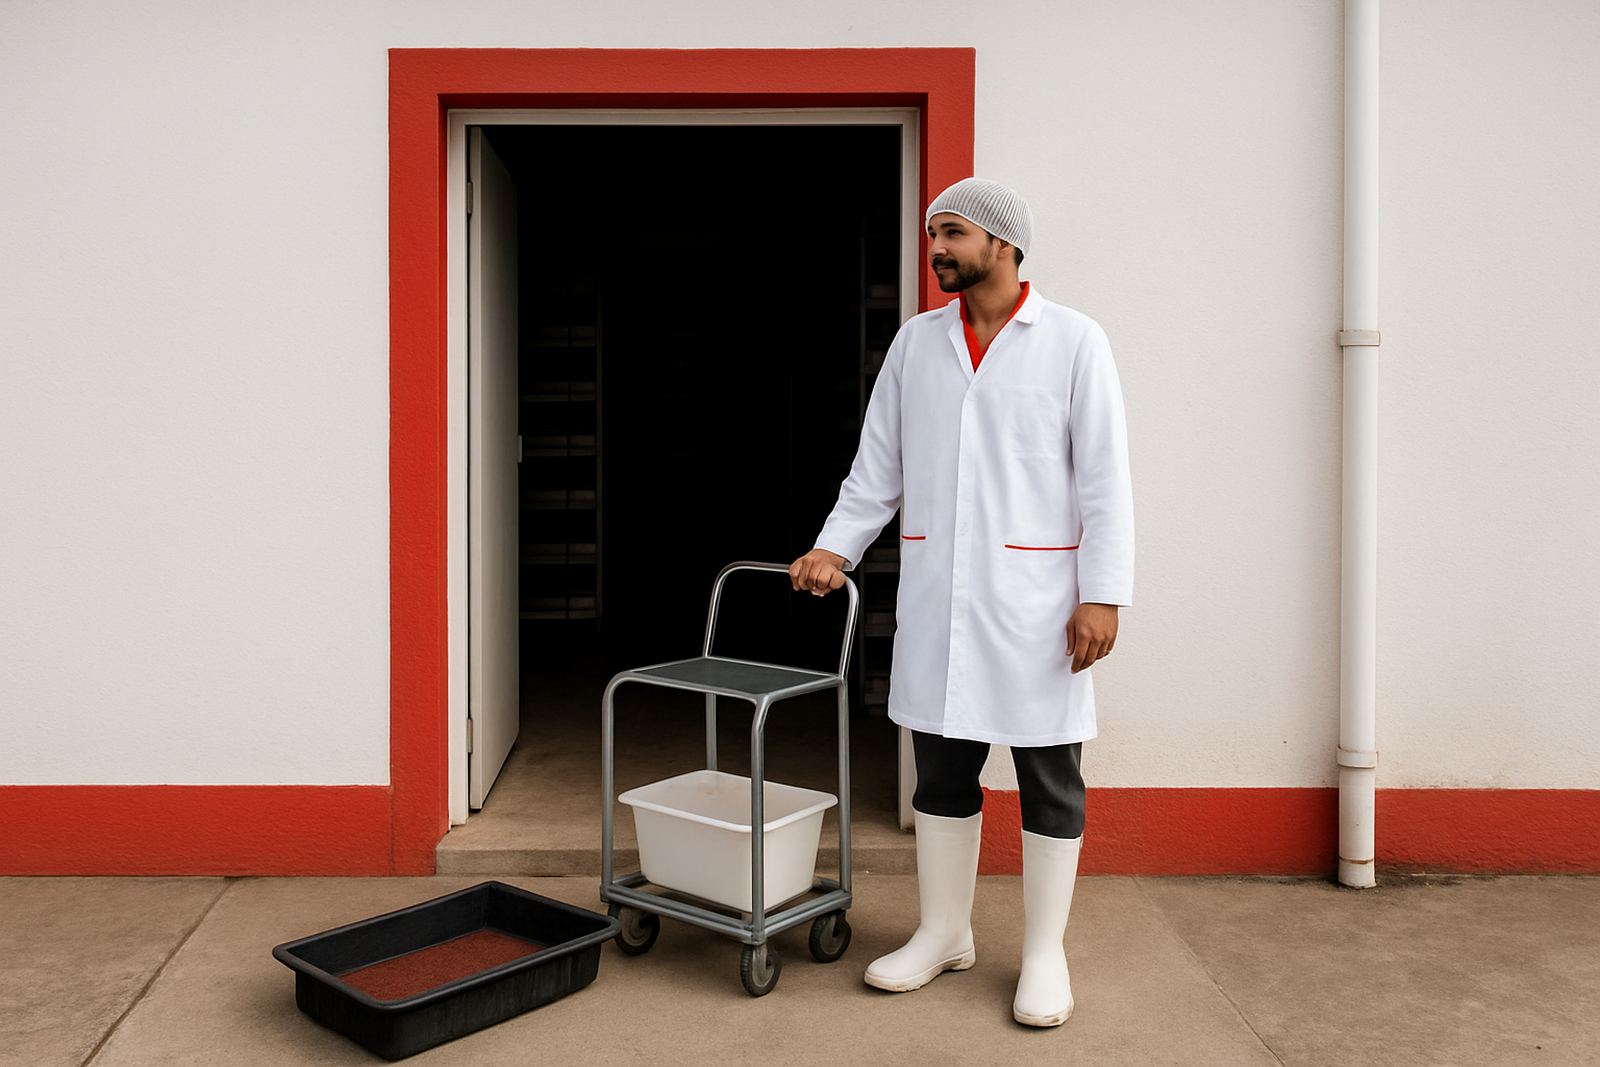
A practical layout uses barriers, colour coded floor markings and clear door control. In a hatchery near Delmas, for example, a simple change in traffic flow stopped delivery trolleys from crossing the chick dispatch path. Staff moved dirty crates out through one exit and clean chick boxes through another, and that reduced unnecessary floor washing during peak season.
- Use one entry for eggs and dirty returns, and a separate entry for clean product and visitors.
- Fit boot wash or boot change points at the boundary between zones.
- Keep waste bins and rejected material outside the clean room envelope.
- Mark floors, doors and trolley parking points so new staff do not guess.
Air, dust and moisture control inside the hatchery
Zoning is not only about doors and people. Air movement can carry dust, dander and moisture from one area to another, especially where fans, extraction units and open doors are used in summer. A clean room should not pull air from a dirty passage or a waste store. Where possible, keep air pressure and ventilation planned so the clean side is protected from backflow.
Moisture is another problem in South African conditions. In humid areas like KwaZulu-Natal, damp floors and condensed pipework can keep bacteria alive for longer. In dry inland areas, dust can build up quickly on ledges, cable trays and fan housings. Both need regular attention, but the answer is different. One needs better drainage and drying time, the other needs more dust control and controlled opening of doors.
- Keep hose points out of clean rooms where possible.
- Drain floors away from clean process areas.
- Seal gaps around pipe penetrations and wall joints.
- Clean fan guards, louvers and high ledges on a fixed schedule, not only when visible dirt appears.
Materials, tools and staff movement need a fixed path
The best hatchery layouts give every item a home. Clean trays, sanitiser, gloves, labels and chick boxes should not be stored beside waste sacks or repair spares. If a person has to walk across three zones to fetch one item, the layout is already working against hygiene control. Keep the common path short, direct and easy to supervise.
Staff movement should also be limited where possible. A team member who checks egg receipt should not then move straight into chick packing without changing PPE and following the correct handwash routine. This is where simple written rules help, but only if the building supports them. If the route is awkward, people will make shortcuts, and shortcuts are expensive in a hatchery.
- Separate PPE for clean and dirty side work, and store it at the point of use.
- Assign tools to a zone instead of moving the same item everywhere.
- Keep service spares and repair parts out of production rooms.
- Train relief staff on the actual walking route, not only the procedure sheet.
Cleaning routines must match each zone
Not every surface needs the same level of cleaning, and not every cleaner belongs in every area. The dirty side may need more frequent washdowns and stronger control of organic matter, while the clean side needs careful wipe down routines that do not leave excess moisture behind. The aim is not just to make surfaces look clean, but to stop one area from undoing the other.
A useful habit is to clean from the cleanest point towards the dirtiest point, never the other way round. That stops splash back and keeps the team focused on what must stay protected. If a hatchery keeps mixing cleaning tools between zones, the risk rises even when the team is working hard. A small colour coding system for mops, brushes and spray bottles can save a lot of confusion, especially on night shifts.
How hatchery zoning supports better output and less downtime
Good zoning pays for itself in fewer rejects, steadier hatch days and less corrective cleaning after mistakes. It also helps during maintenance because technicians know which parts of the hatchery can be isolated without stopping the whole operation. That matters in places where power interruptions, seasonal demand and transport delays can already put pressure on the schedule.
For hatcheries serving farms across Gauteng, Mpumalanga, Limpopo, North West, Free State or KwaZulu-Natal, the same principle applies: keep the process simple enough for every shift to follow. A clean and dirty zone plan should be visible on the wall, repeated in training and reflected in the way doors, drains, wash points and trolleys are arranged. If your site grows later, the zones should still make sense after an upgrade, not just on opening day.
At John F Marshall, hatchery planning is best handled as part of the full poultry process, from house layout through to equipment selection, installation supervision and operator training. When the zoning is right, the hatchery runs with less confusion and the team spends more time on production, not on fixing avoidable hygiene lapses.