
Start with the chick, not the heater
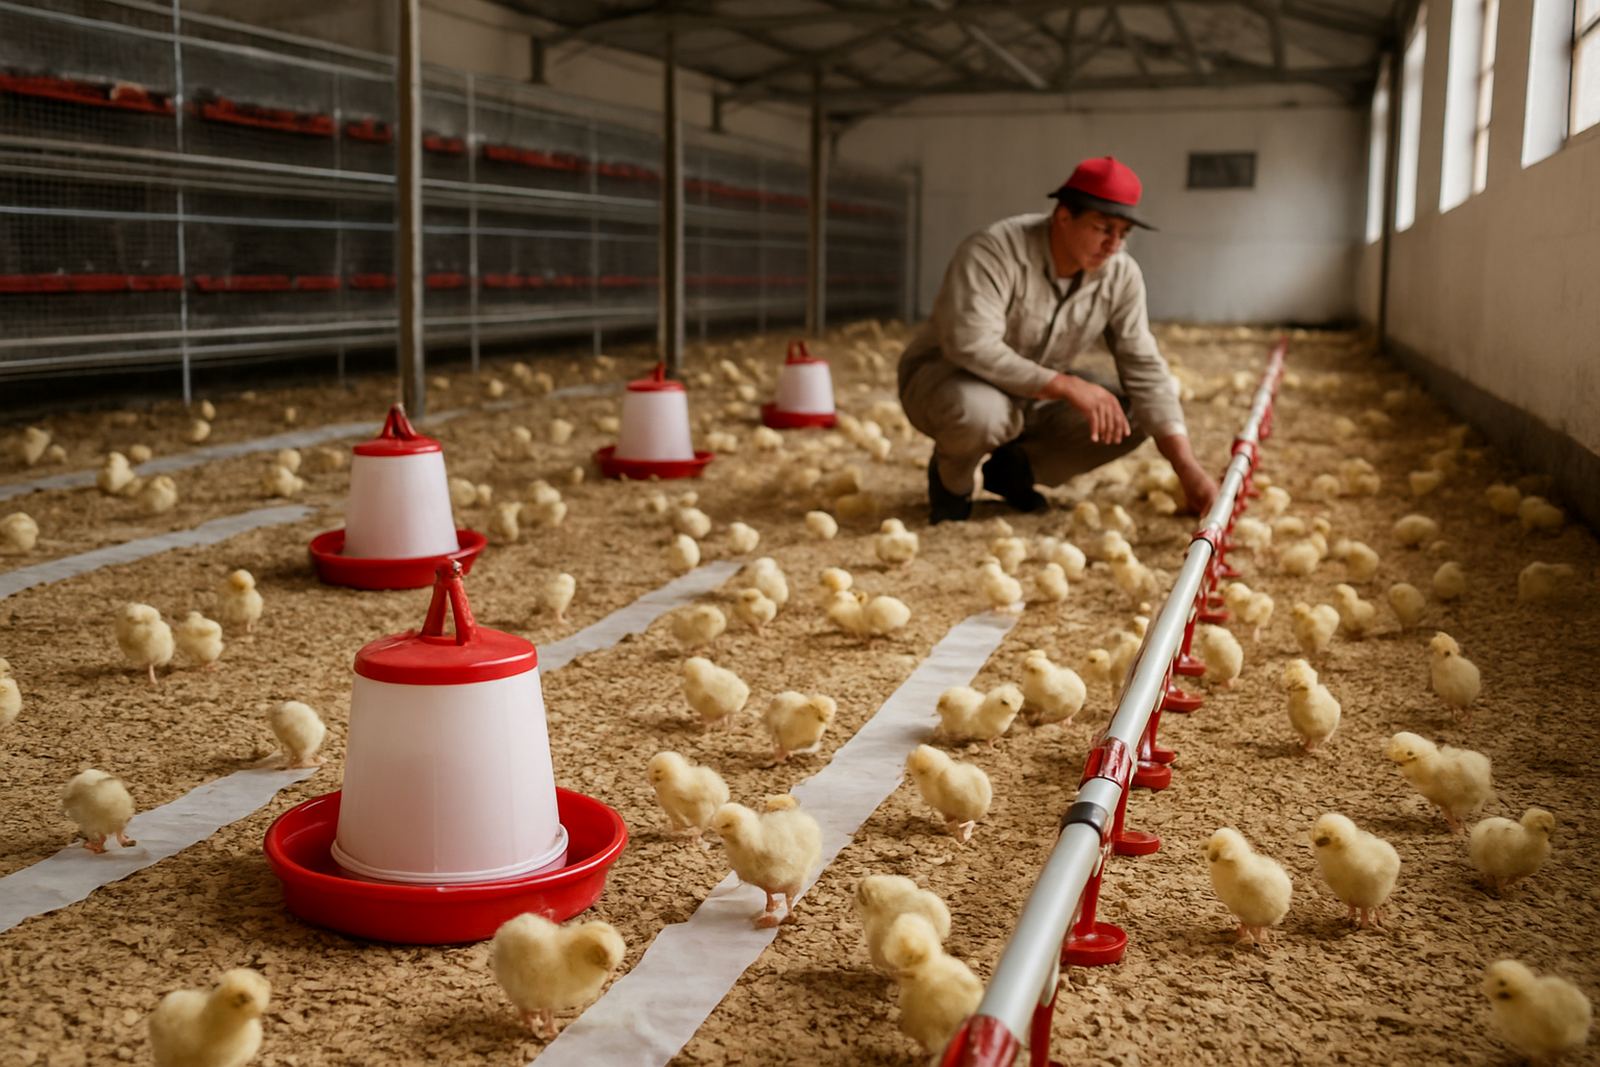
Brooding is not only about making the house warm. Chicks need a steady, even heat zone where they can settle, drink and find feed without piling up in one corner. If the heat is too hard in one spot and weak in another, the birds will spread unevenly and you will see it in body weights by the end of week one.
The first 48 hours matter most. Day-old chicks still lose body heat quickly, so the aim is to give them a warm floor area, clean air and enough light to find the drinkers. In colder Gauteng mornings or on the Highveld in winter, a room can feel fine to a person but still be too cold for small birds near the floor. That is why brooder choice and placement count just as much as fuel supply.
Choose the brooder type for your house and fuel source
Different houses need different heat methods. Gas brooders suit many medium to larger houses because they spread heat well and respond fast when the temperature drops. Electric brooders can work well in smaller units or where the power supply is dependable, but they need careful backup planning during load-shedding. In some projects, hot-air or central heating systems are a better fit for long houses with tight temperature control.
The right answer depends on house size, insulation, bird numbers and what fuel you can keep on site. If you are running a grow-out in Limpopo where gas deliveries can be patchy, you plan differently from a farm near Boksburg where access is easier and transport times are shorter. The same goes for coastal areas where humidity changes how quickly litter dries out.
- Gas brooders: good heat spread, quick adjustment, fuel storage needed.
- Electric brooders: neat control, but backup power is essential.
- Central warm-air systems: useful in larger houses, higher setup cost.
- Infrared units: best when positioning and spacing are carefully managed.
Placement is half the job
Even a good brooder can fail if it is placed badly. Heat should be centred where chicks can gather comfortably, with enough space for them to move in and out of the warm zone. If the brooder sits too close to a draughty sidewall or under a leaky roof sheet, the birds will avoid that area and huddle elsewhere. That creates cold patches and uneven growth.
Check the house before placement. Seal obvious gaps, level the litter and make sure curtains, doors and inlet points do not send cold air straight across the brooding area. The flame or element height should also match the manufacturer guidance and the age of the chicks. Too high and you waste fuel, too low and you can scorch litter or overheat the centre.
- Keep brooders clear of direct draughts from doors and inlets.
- Set them on a level, dry floor with even litter depth.
- Space them so heat zones overlap slightly, not too far apart.
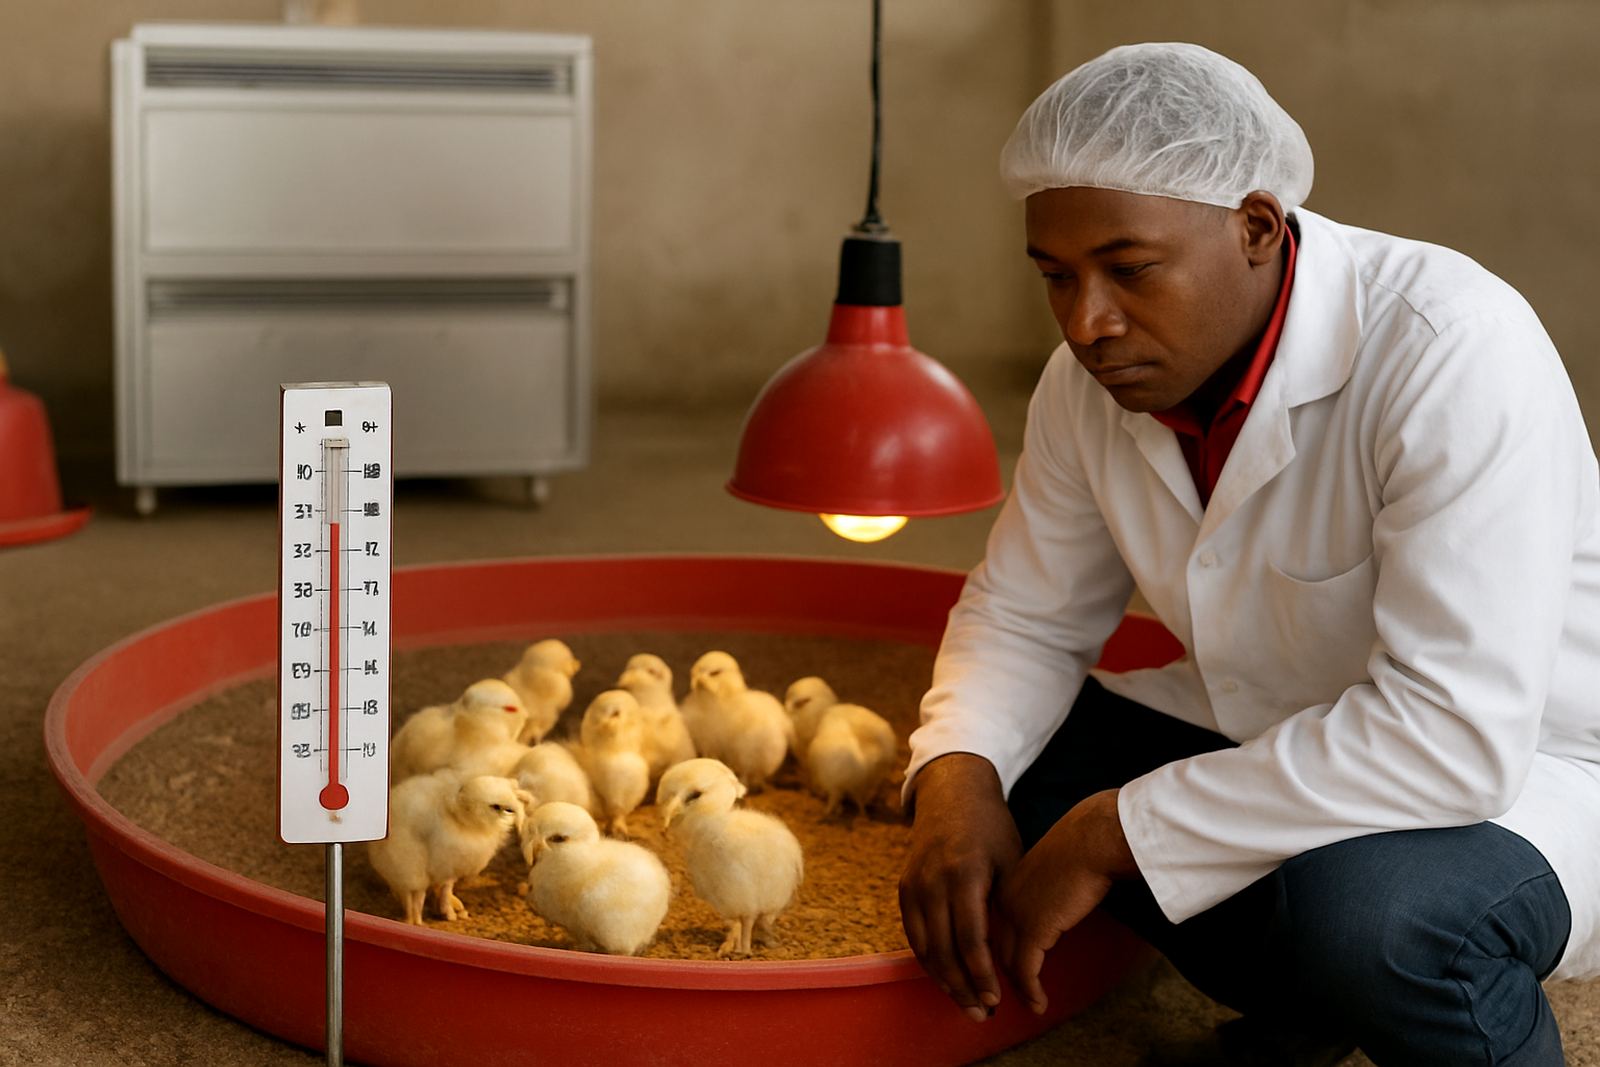
- Test temperatures at chick height, not at human waist height.
Watch fuel access before the chicks arrive
Brooder heat is only as reliable as the fuel behind it. That means enough gas cylinders, a secure manifold if used, clean connections and a delivery plan that does not depend on the last minute. In practical terms, you want fuel on site before placement starts, not after the birds have already arrived and settled. A missed delivery can turn into a very long night.
For farms using bottled gas, check cylinder condition, regulator fitment and the route from storage to the house. Keep cylinders upright, ventilated and protected from sun and damage. If the unit is electric, make sure the wiring, breakers and backup power are sorted well before the first brooding cycle. During load-shedding, a few minutes without heat can knock chick vigour and make them crowd together.
- Confirm fuel stock at least 24 to 48 hours before placement.
- Inspect hoses, valves and regulators for wear or leaks.
- Keep spare parts and ignition items on site where possible.
- Plan backup for outages, especially in winter or at night.
Read chick behaviour as your temperature guide
Many growers over-rely on the thermometer and ignore the birds. Chicks tell you quickly if the brooder is too hot, too cold or uneven. If they are packed tight under the heat source, the house is cold. If they are pushed to the edges and panting, the centre is too hot. The best sign is even spread, active drinking and chicks resting quietly with small gaps between them.
Check them often in the first hours, then again before lights out and after any temperature change. Floor feel matters too. A cold floor can pull heat from the birds even when the air temperature looks acceptable. If litter is damp near drinkers, fix the leak or adjust the drinker height instead of just turning up the heat.
A Gauteng example: small changes, better start
A grower near Delmas once ran a new batch of chicks in a house that looked ready, but the brooder line was too close to the sidewall and the gas supply point was awkward to reach. The birds stacked in the centre each night and several corners stayed cold. After moving the units inboard, checking the cylinder changeover and lifting the drinkers slightly, the flock spread more evenly within two days.
The lesson was simple. The problem was not the chicks, it was the set-up. Good brooder heat is a mix of equipment choice, placement and fuel access. When those three line up, you get calmer birds, better feed pick-up and fewer early setbacks. In this work, a small adjustment now saves a lot of trouble later.