
Start with a clean, dry house and a clear plan
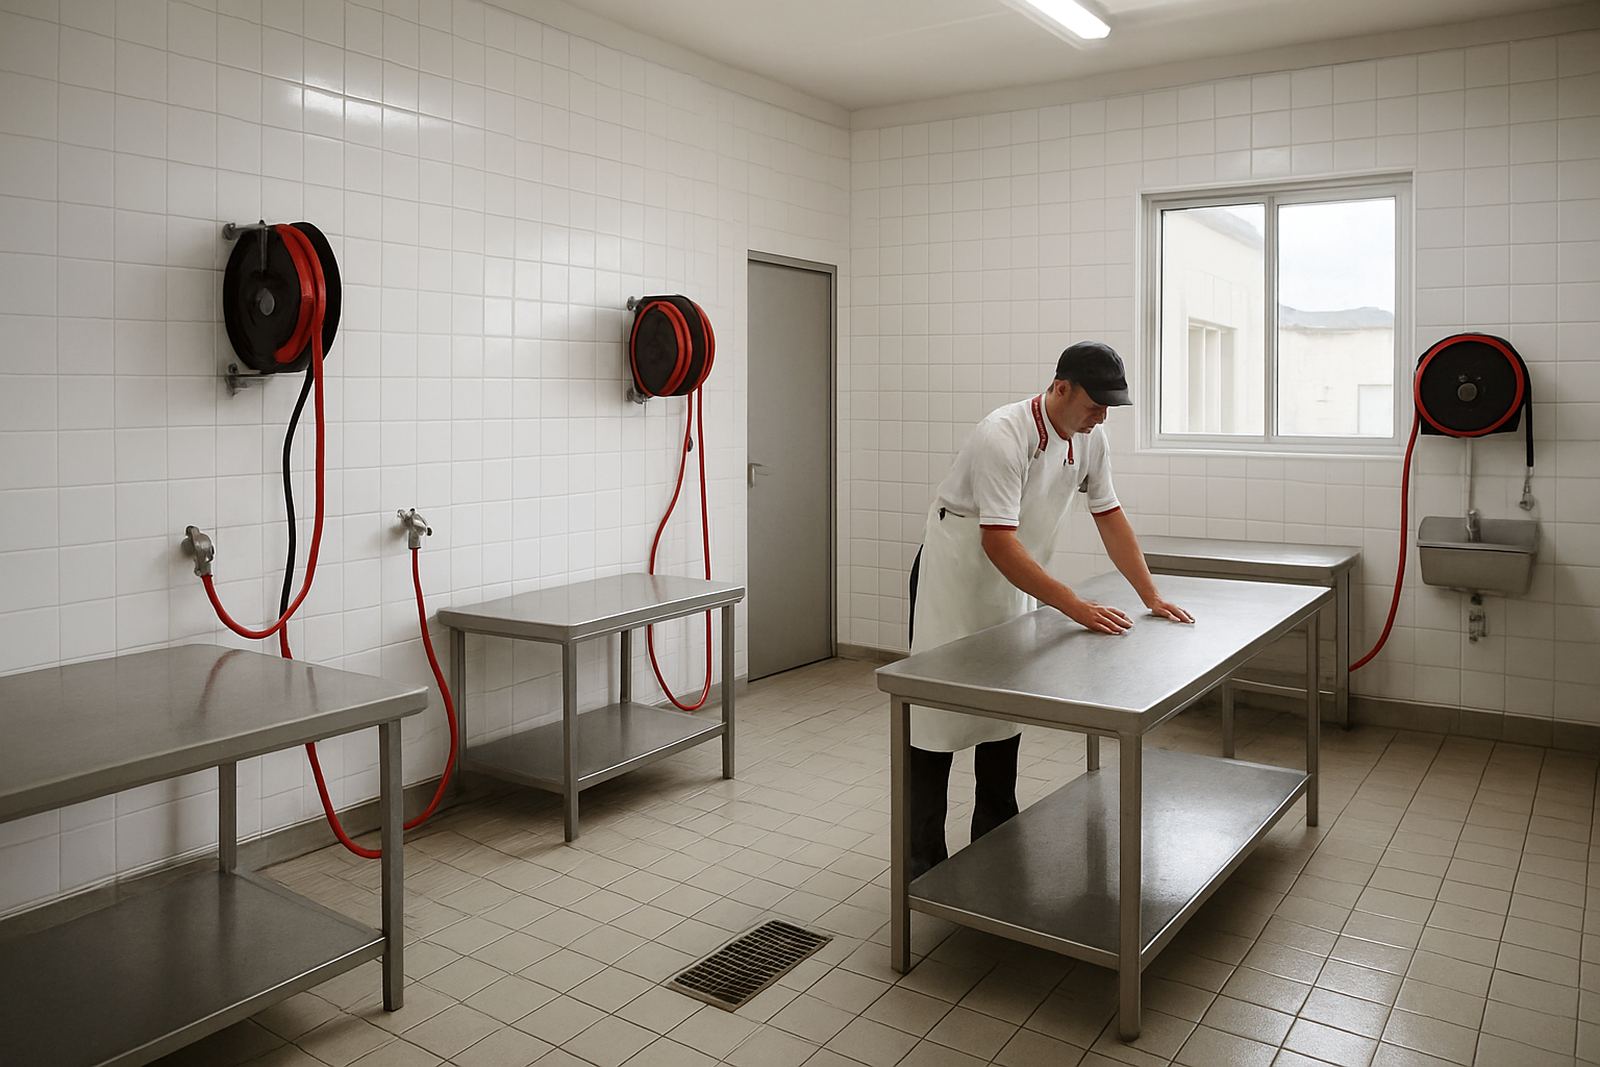
Before any chicks are ordered, the house should be washed, dried and disinfected, then left empty for long enough to break the cycle of disease pressure. In humid areas like the KwaZulu-Natal coast, drying time is often longer, so do not rush straight from wash-down to placement. Check that the litter is dry underfoot, the floor is even, and drainage around the house is working so storm water does not creep in after a summer rain.
Set the house up according to the number of chicks, the breed and the expected grow-out plan. If you are working with laying stock, the starter period still needs proper heat, water access and light control. Make sure the house number, pen layout and equipment positions are agreed before delivery day, because there is no time for moving feeders and drinkers once the chicks are on the floor. A few hours of planning saves a lot of stress later.
- Remove all old litter, dust and loose feathers
- Wash ceilings, walls, floors and equipment
- Disinfect, dry and check for damp patches
- Seal holes where rats or wild birds can enter
- Confirm access for the supplier and for staff on placement day
Get the brooder heat right before the chicks arrive
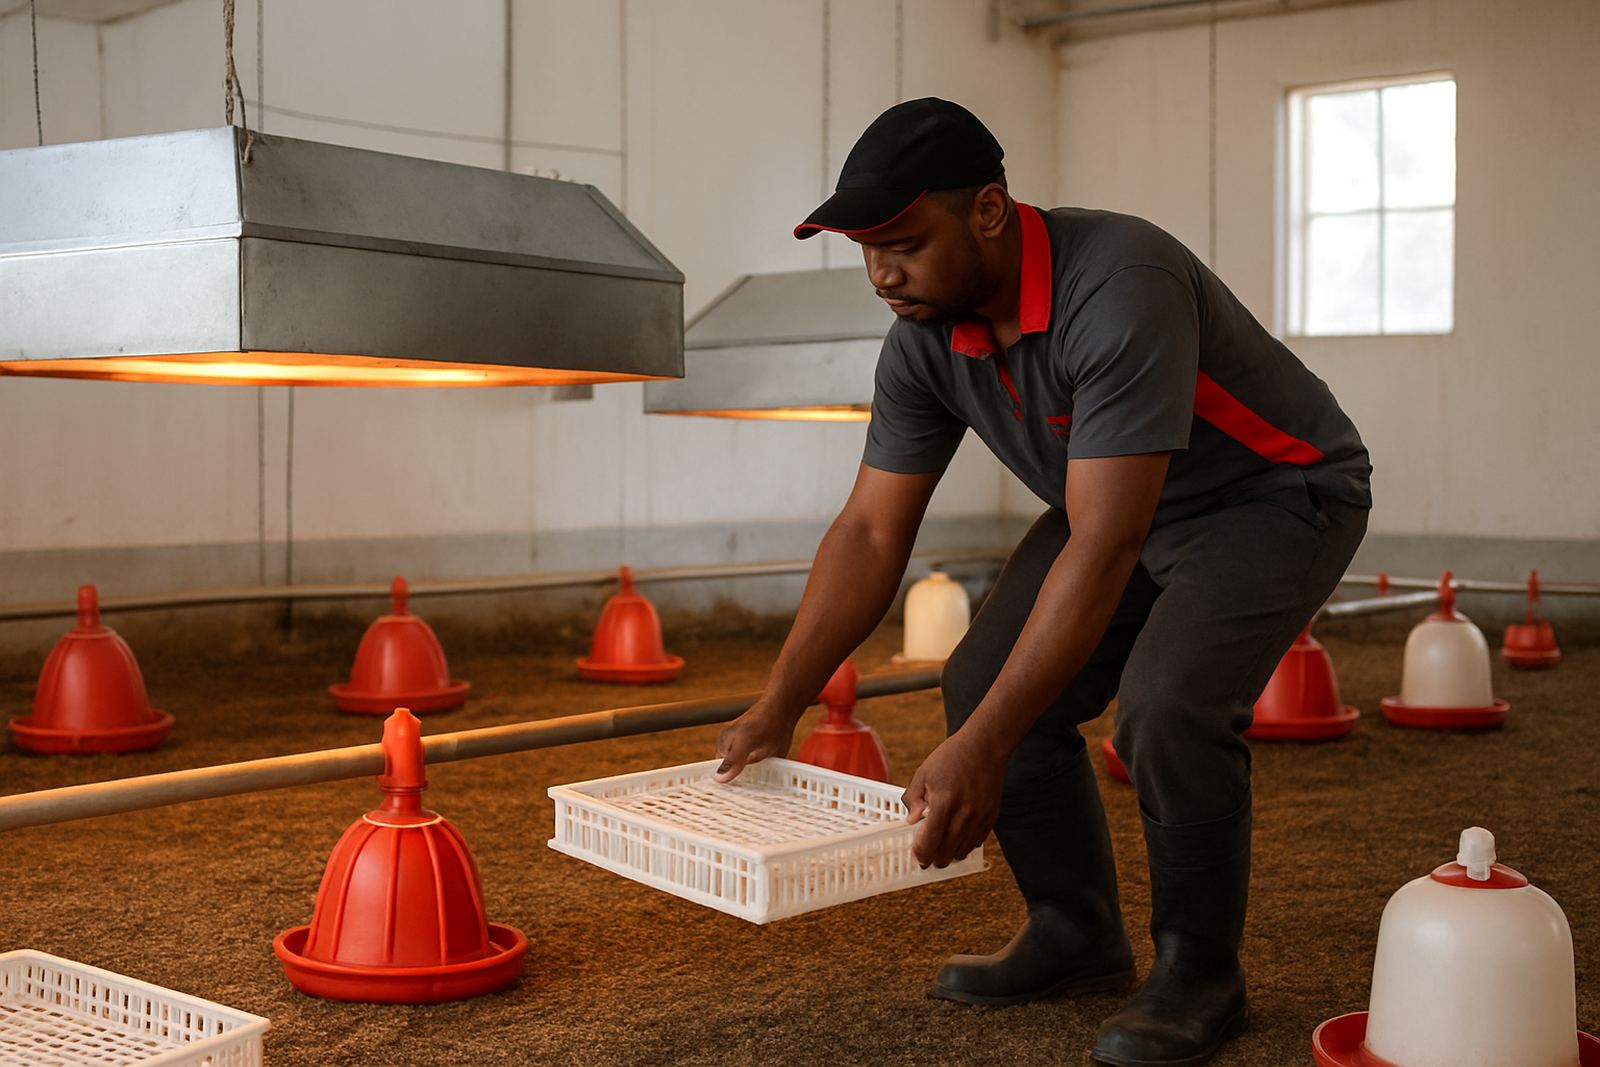
The brooder area must be warm enough before the chicks are unloaded. Chicks cannot regulate body temperature properly at day old, and cold floors or drafts quickly set them back. Switch on heaters early enough to bring the litter and air up to the correct level, not only the air near the ceiling. In many inland parts of Gauteng, North West and Free State, night temperatures can drop sharply, so test the house at night and not only during the day.
Use thermometers at chick level, and check several points in the house. Uneven heat is a common problem when fans, side curtains or heater positions are not balanced. If you are using gas, paraffin or electric heating, make sure the supply is stable and that backup options are ready for load-shedding. A house can look warm at the door and still be too cool at the far end, which is why walk-through checks matter.
- Pre-heat the house well before placement
- Measure temperature at chick height in more than one spot
- Block cold drafts and fix curtain gaps
- Test backup power or backup heating arrangements
- Keep a thermometer and notes for each house
Set water lines, pressure and drinkers before placement
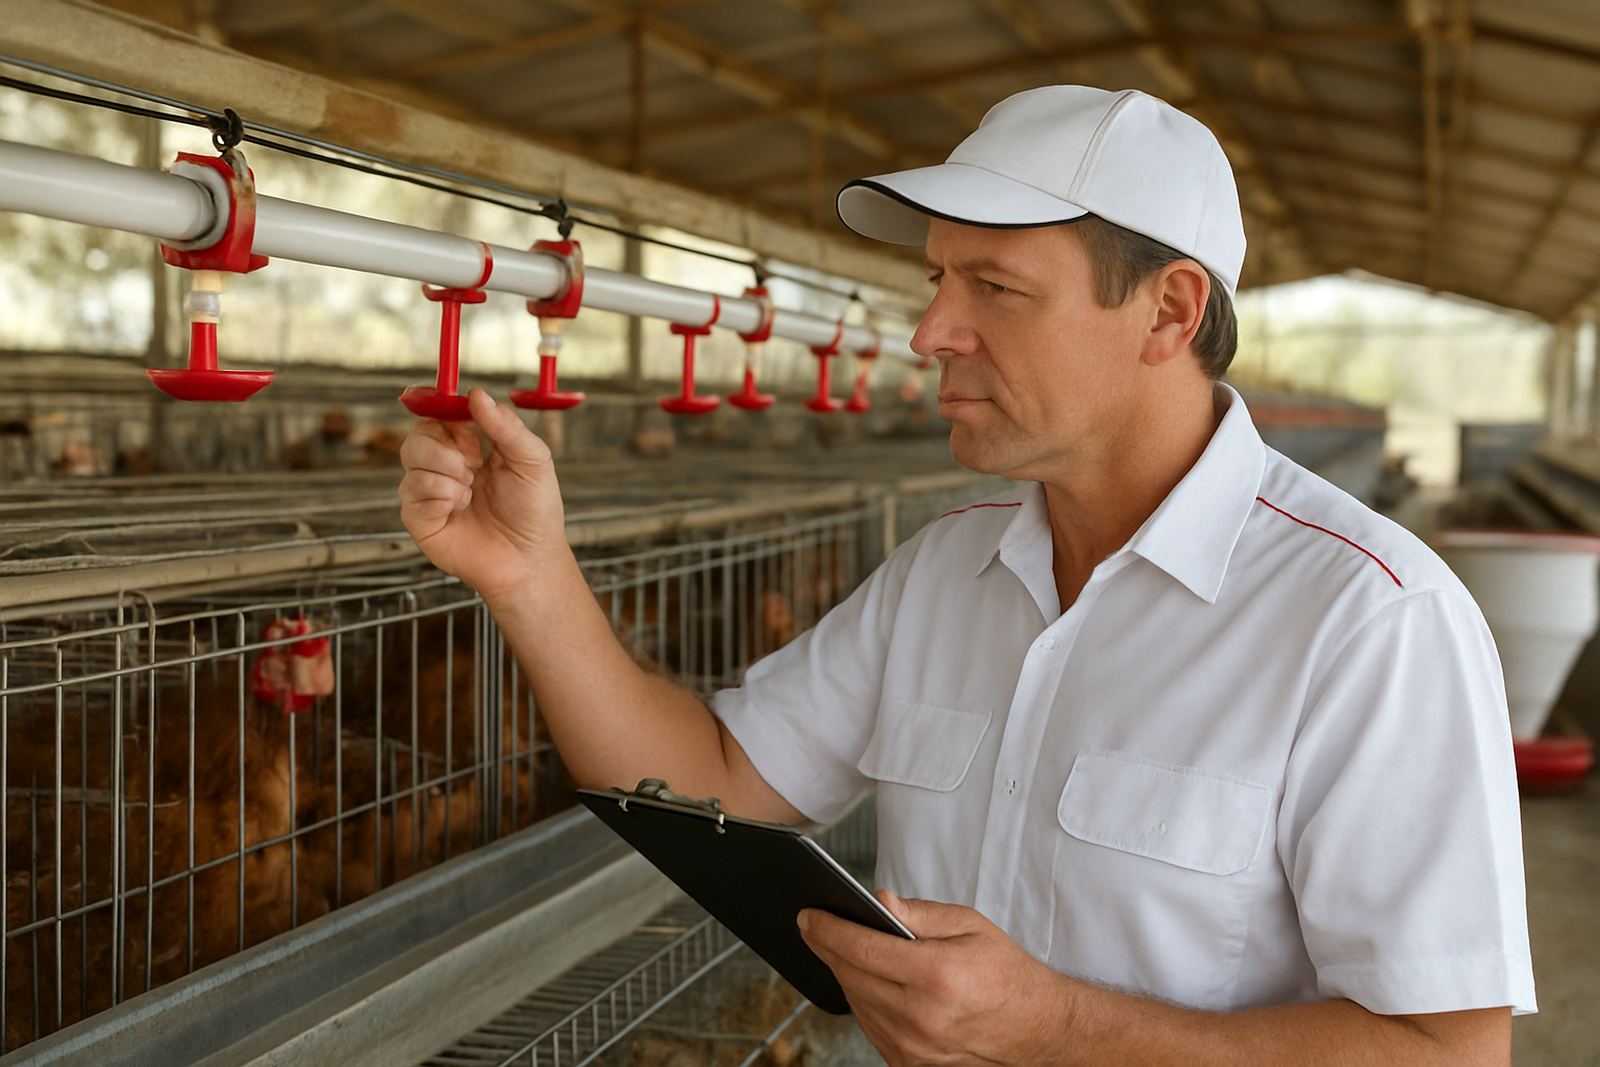
Water must be clean, cool enough and easy to reach from the first minute. Flush all lines before chicks arrive, and check for leaks, low pressure and dead ends where stale water may sit. In areas with hard water or borehole supply, line cleaning is especially important because scale and sediment can block nipples or contaminate open drinkers. A chick that cannot find water quickly will eat less and weaken faster than many farmers expect.
Fill drinkers before delivery and place them so chicks do not have to travel far from the brooder ring or heated zone. Make sure the height is correct and the flow rate suits day-old birds. If you use medication or vitamins in the water, prepare the dosing plan in advance and confirm that the equipment is rinsed out. Water should be ready and stable when the first crate is opened, not adjusted while chicks are already peeping in the pen.
- Flush and sanitise all water lines
- Check pressure at the end of each line
- Set drinker height for day-old chicks
- Prepare clean containers for manual top-up if needed
- Test for leaks, air locks and blocked nipples
Place starter feed where chicks can find it quickly
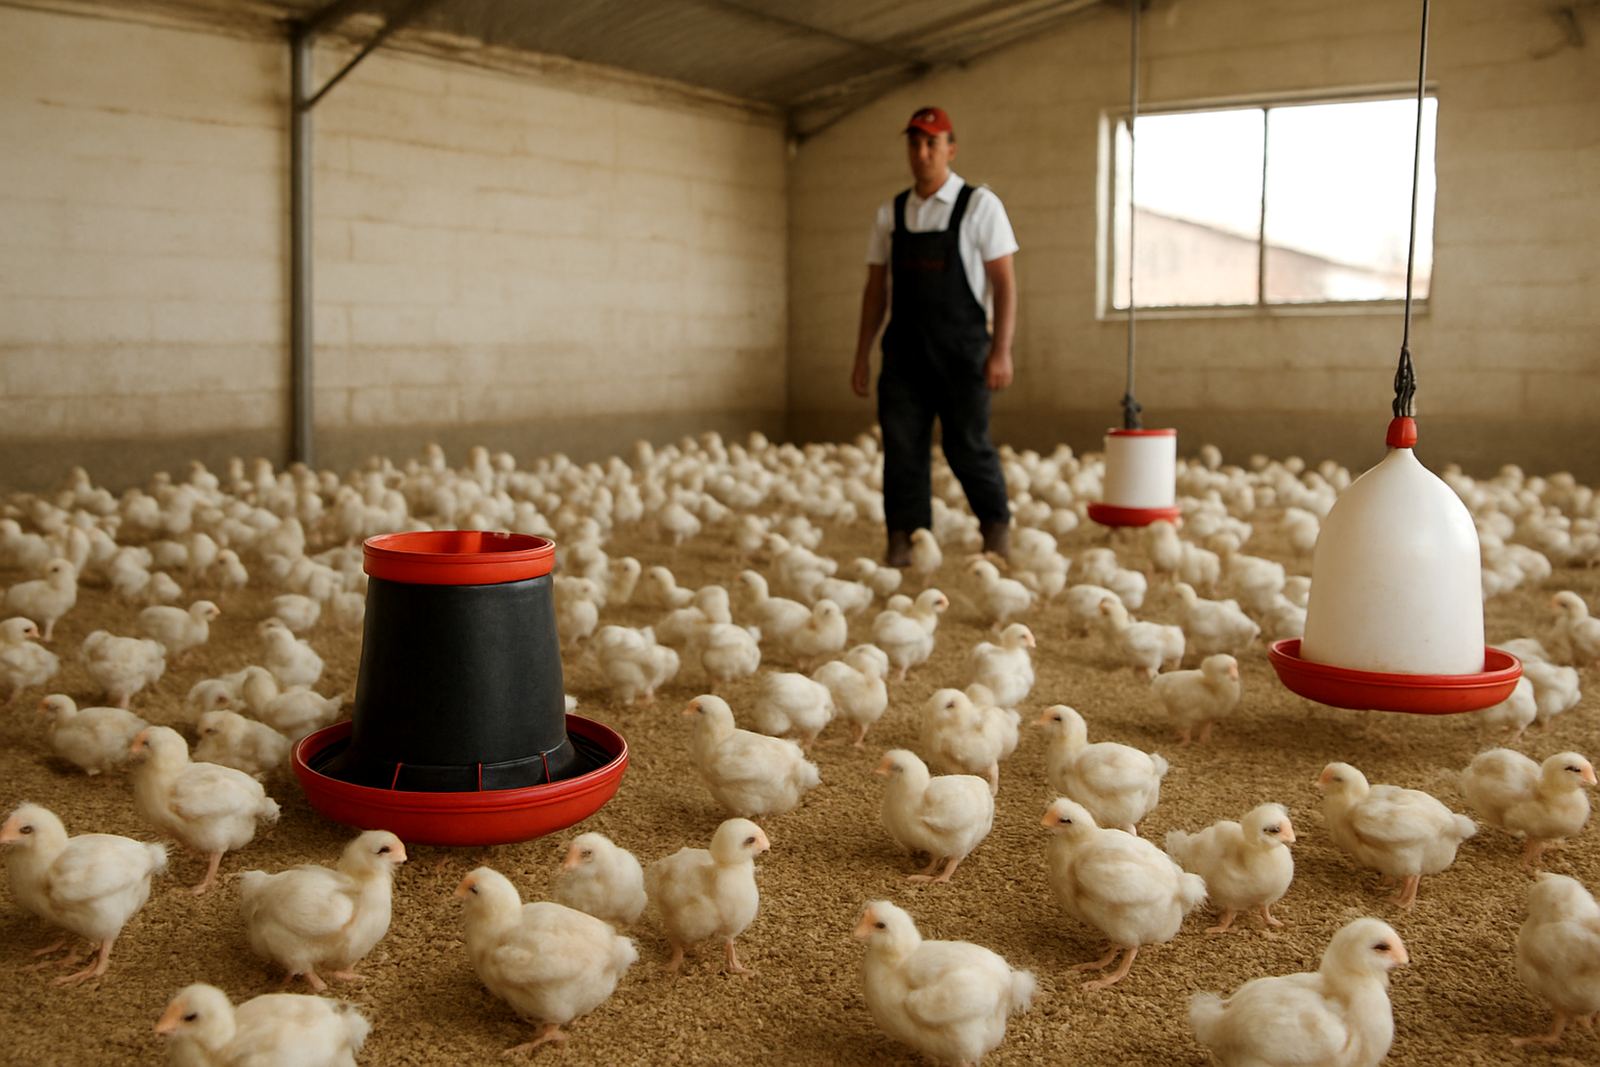
Starter feed should be on the floor or in shallow feeders as soon as the chicks are placed. Do not wait for them to settle and then go looking for feed later. Spread feed paper or trays in the brooder area if needed, so the smell and sight of feed draw the chicks in. The first feed intake sets the pace for crop fill, growth and uniformity, so every bird should have an easy path to food.
Check that the feed is fresh, the bags are dry and there is no sign of mould or caking. Feed kept too long in hot stores can pick up moisture, especially in summer. Keep the starter ration in a clean, dry store away from chemicals and pests, and rotate stock so the oldest feed is used first. If you are bringing feed in from a mill or local supplier, confirm delivery times so you are not left waiting on placement morning.
- Have starter feed on site before the chicks arrive
- Use clean trays or paper to encourage early pecking
- Keep feed dry and protected from rodents and birds
- Check the ration matches the age and bird type
- Remove spoiled feed immediately
Check light, airflow and house conditions one more time
Light helps chicks find water and feed, while airflow removes stale air without chilling the birds. Test the lighting before placement and make sure all fittings work. If curtains, inlets or fans are part of the house design, they must be set for gentle movement, not a hard draught. Fresh air is important, but a chick on the floor should not feel wind cutting across its back.
Walk the house with a simple checklist and look for small issues that can become big problems later. Loose wire, sharp edges, broken plastic and exposed fasteners can injure birds or staff. In older houses around Boksburg, Springs, Middelburg or Polokwane, power points and switches sometimes need attention after years of dust and heat. Fix those items before the chicks arrive, not after the first injury or outage.
- Test lights and backup lighting
- Confirm fans and inlets are working correctly
- Remove sharp edges, tools and loose fittings
- Check gates, doors and foot baths
- Walk the house at bird height, not only standing upright
Use a placement-day checklist and keep records
On the day of placement, assign clear roles. One person should handle the crate count, another the brooder area, another the water and feed check. Keep the house calm and do not crowd the birds. Count the chicks as they are placed, and note any weak, wet or late arrivals. A few minutes of observation at the start can prevent hours of problems later in the cycle.
Record the temperature, the time heat started, water status, feed position and any issues found during the first checks. These notes help with future houses and make it easier to spot patterns if bird performance drops. Good records also support training, maintenance planning and decisions on expansion, which matters when you are running several sites across Gauteng, Limpopo, Mpumalanga or the Free State.
If you are building a new poultry unit or expanding an existing one, John F Marshall can assist with site planning, equipment selection, house layouts, installation supervision, commissioning, operator training, maintenance programmes and spares supply. Careful preparation before day-old placement is part of the bigger picture, and it pays back in lower stress, better uniformity and fewer losses.