
Start with clean collection and calm movement
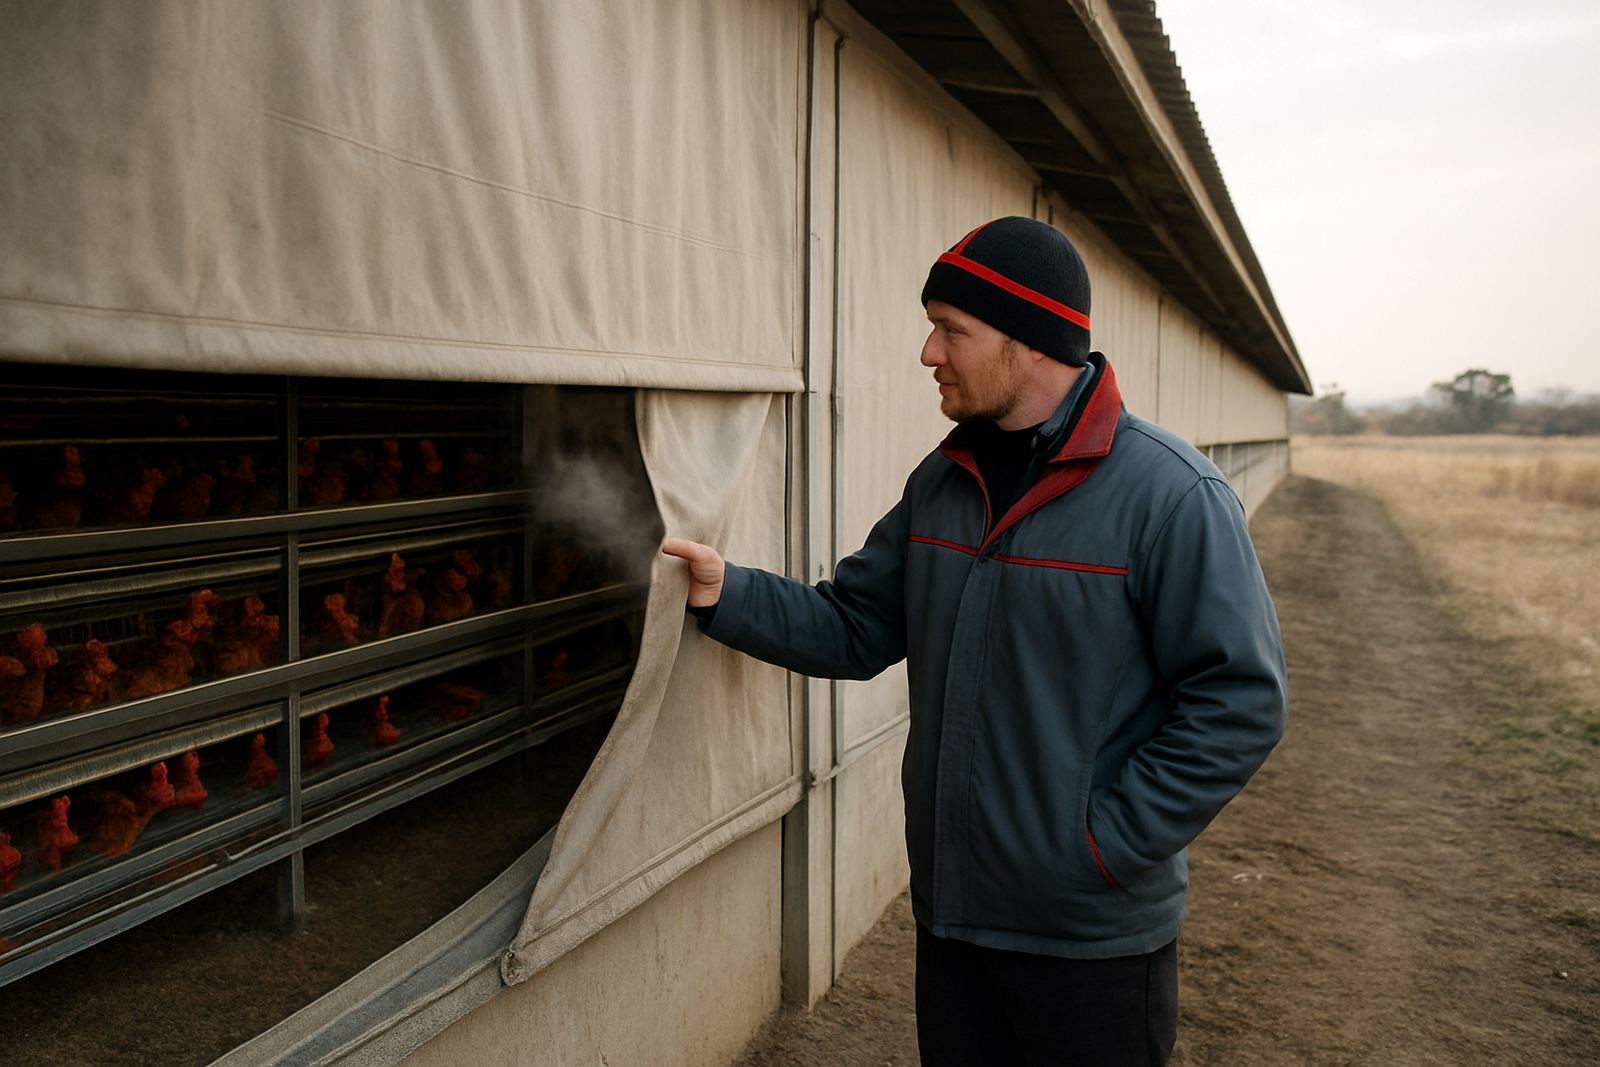
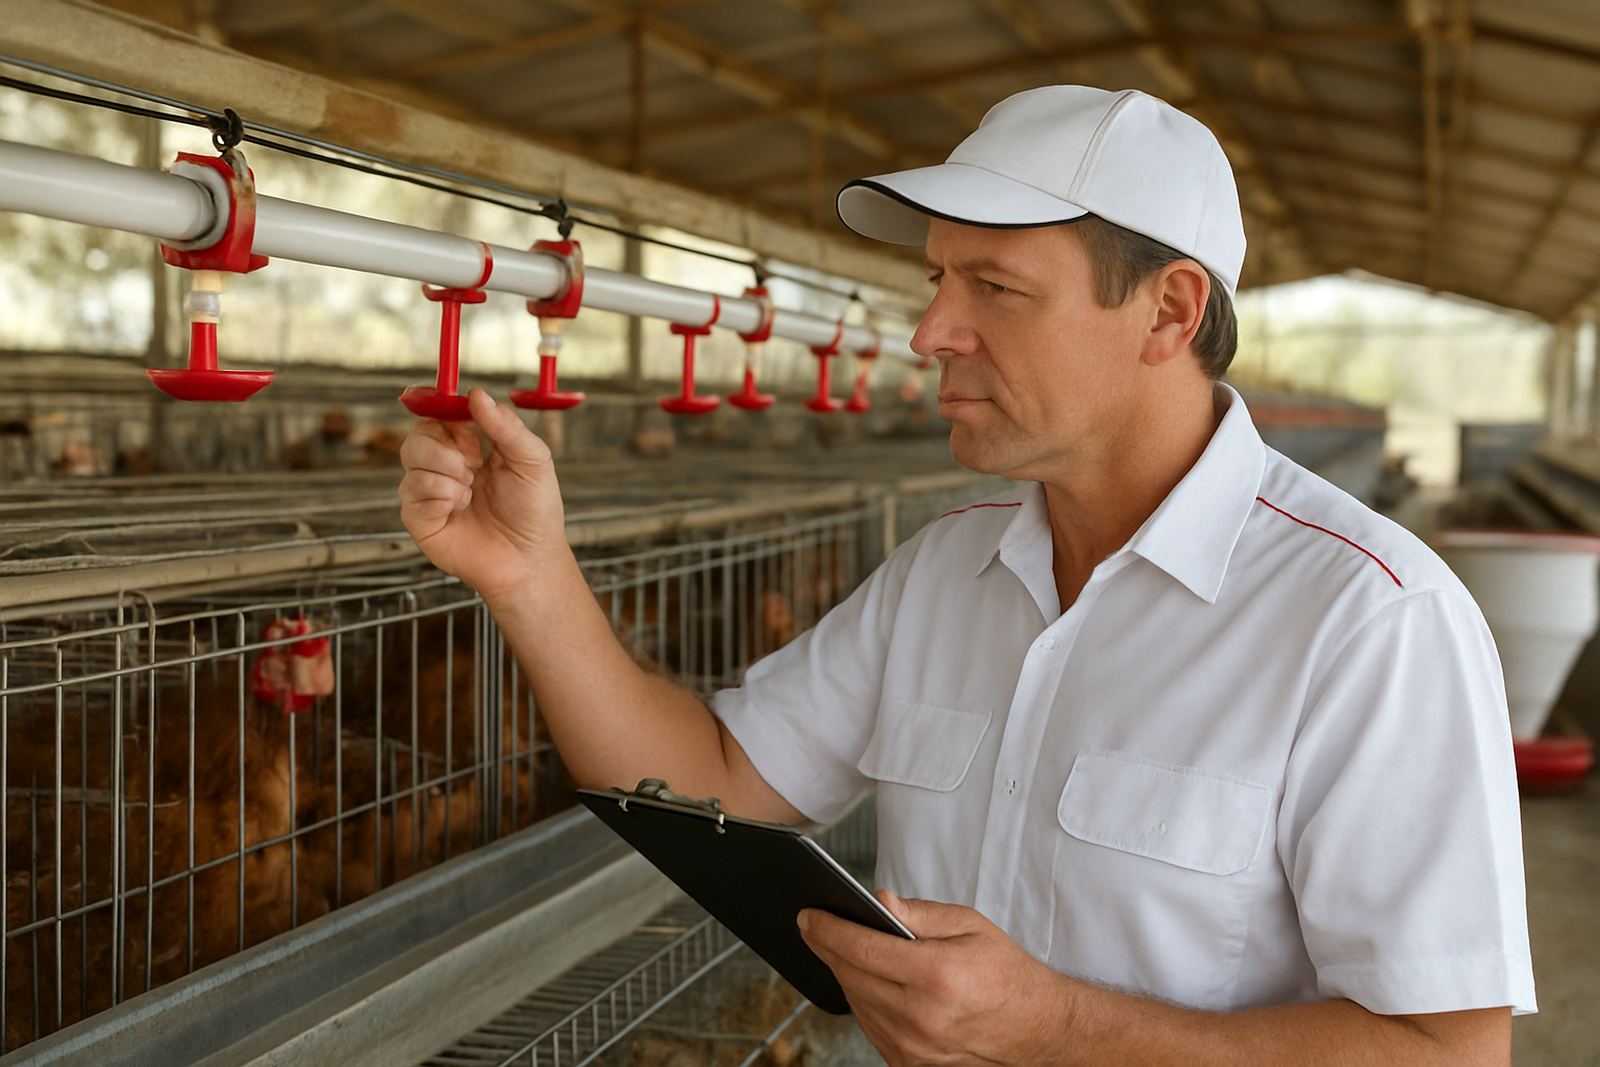
Egg handling begins in the laying house, not at the setter. Collect eggs often through the day, especially in hot weather, so eggs do not sit in litter, dust or direct sun for long. In Gauteng summer heat or humid coastal conditions, even a short delay can raise the risk of sweating on the shell and contamination. Use clean flats or trays, keep them level, and move them gently. No throwing or piling, even for a quick trip across the yard.
Separate hatchable eggs from floor eggs, dirty eggs, cracked eggs and very small or very large eggs unless your breeding programme says otherwise. Good hatchery practice is simple: only eggs that are clean, sound and from the right breeder flock should go forward. If eggs are collected from several sheds, label each batch by date, house and flock age so traceability stays clear.
- Collect at least 3 times a day in mild weather and more often in heat.
- Use clean hands or gloves, and avoid wet cloths on shells.
- Keep collection trays dry, shaded and off the ground.
- Record flock, date and house for every batch.
Sort eggs for hatchability before storage
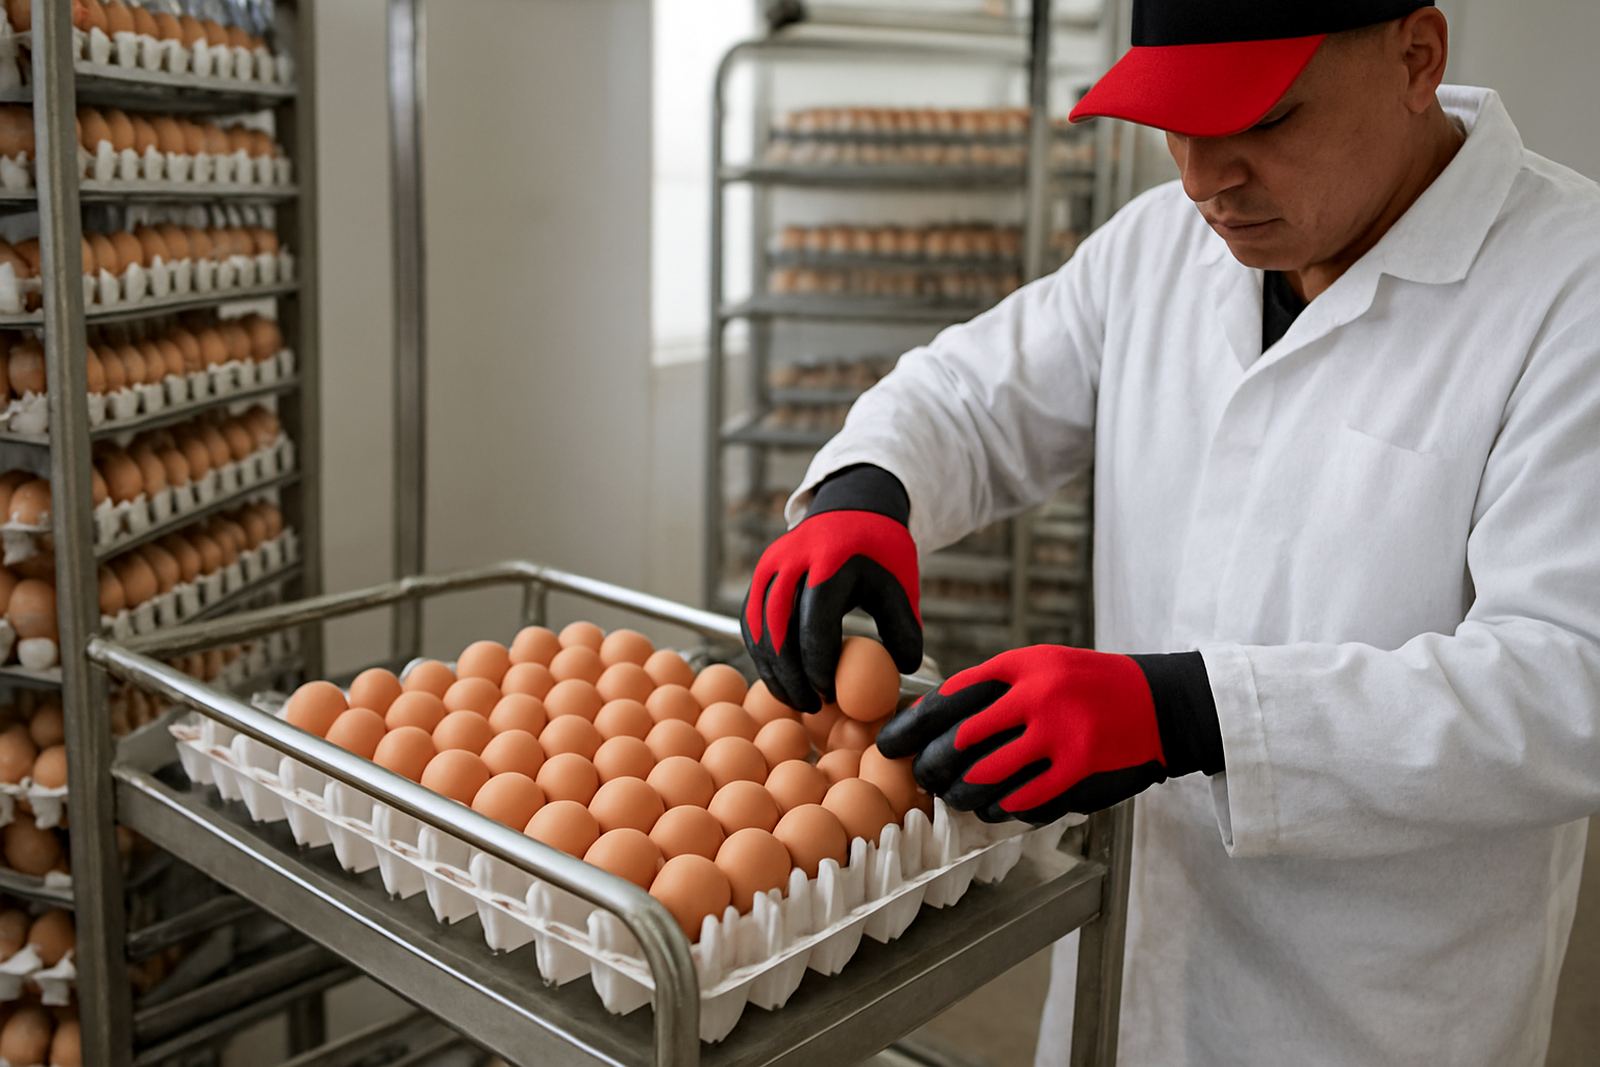
Once eggs reach the egg room, sort them under good light. Look for cracks, misshapen shells, thin shells, heavy dirt and shell damage around the pointy or blunt end. A shell that looks fine at a glance may still have hairline cracks, so take your time. Eggs with visible faults should be removed from hatch batches because they create infection risk and often produce poor embryo development anyway.
Weight and size matter too. Very light eggs can give small chicks, while oversized eggs may not fit your incubator trays properly. Keep batches as even as possible so incubation is more consistent. If you handle breeder eggs from different ages, do not mix young-flock eggs with older-flock eggs unless your incubation plan accounts for it. This is where many hatcheries lose uniformity without noticing it straight away.
- Reject cracked, leaking or badly misshapen eggs.
- Keep dirty eggs out unless your process allows safe cleaning and sanitation.
- Group eggs by flock age and size where possible.
- Do a second visual check before setting day.
Hold eggs at the right temperature and humidity
Storage conditions make a direct difference to hatch results. For short holds, keep hatchable eggs in a clean room with steady air movement and controlled conditions. The aim is to slow embryo ageing without chilling the egg too hard or letting it warm up and sweat. In practice, many poultry teams in South Africa use a dedicated egg store with backup power, because load-shedding can disturb temperature stability very quickly.
Keep eggs pointy end down if that is your hatchery practice, and turn them during storage if eggs will be held for several days. Longer storage usually means lower hatchability, so plan collection and set days carefully. If power fails, close room doors, avoid repeated opening, and restore temperature as soon as possible. A small rise and fall can cause a lot of trouble by the time eggs reach the setter.
- Store eggs in a clean room away from chemicals and fuel.
- Keep temperature and humidity steady, with a backup plan for outages.
- Do not stack trays so tightly that air cannot move.
- Turn stored eggs if your storage period requires it.
Use sanitation that protects the shell, not just the room
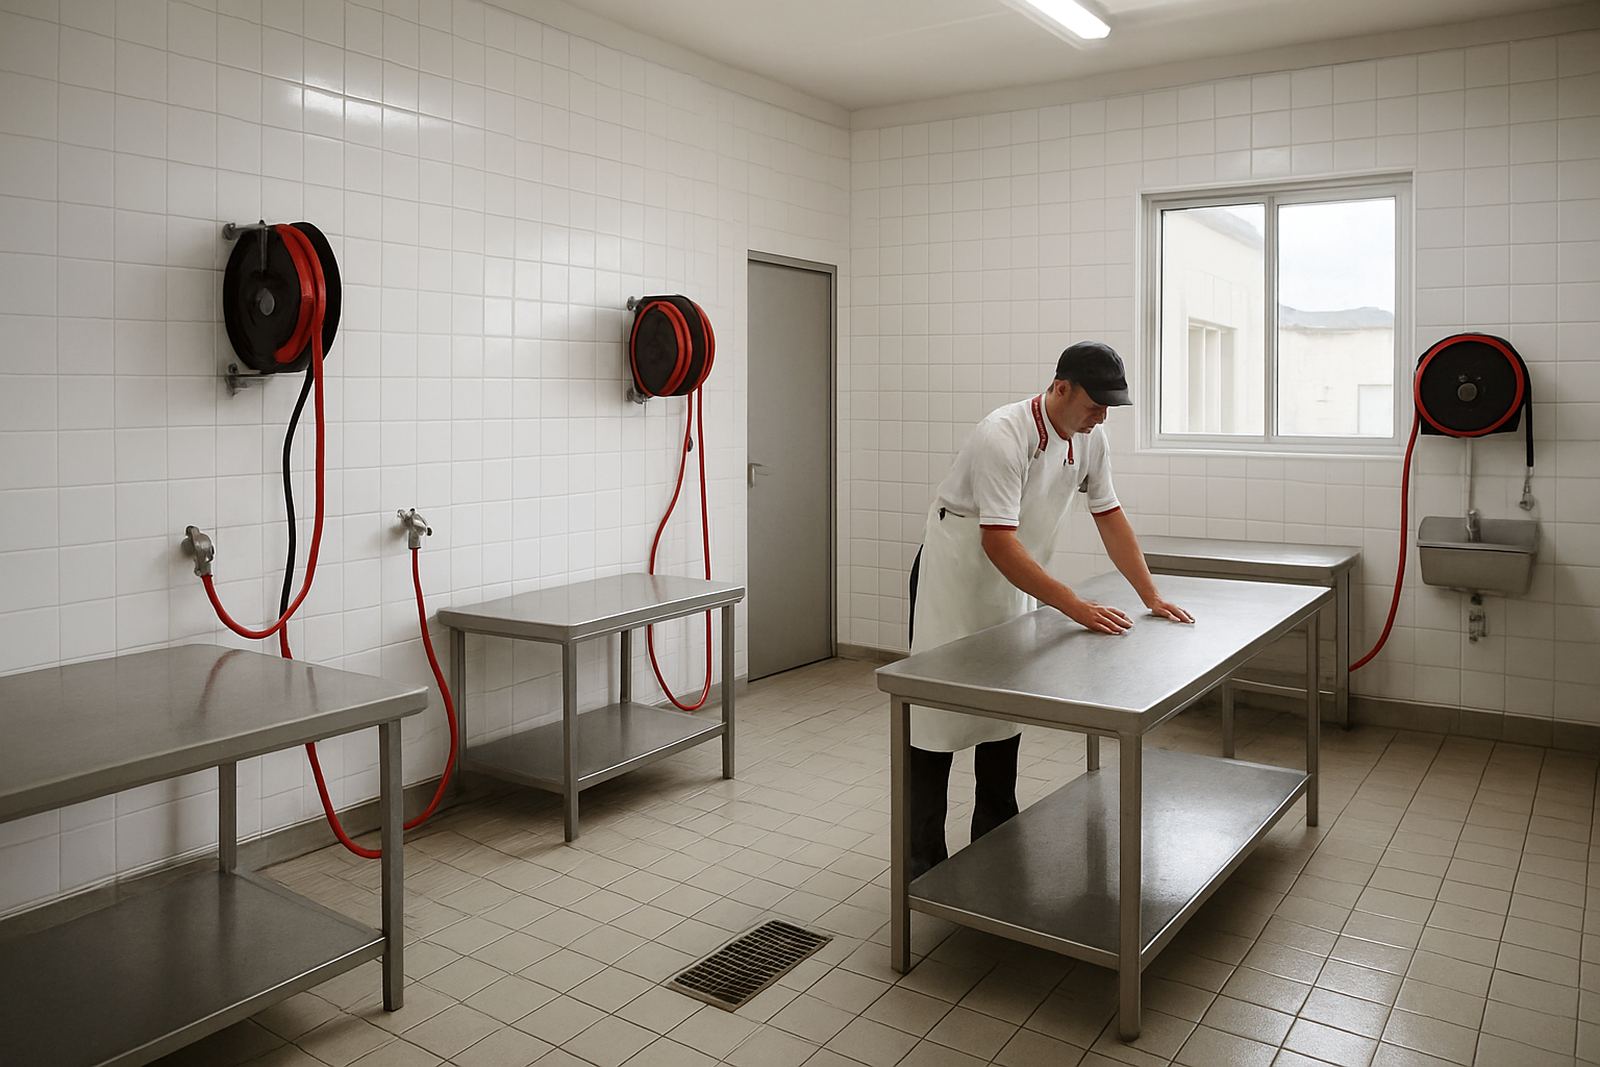
The shell is porous, so sanitation needs to be planned, not rushed. Clean the egg room, trays, trolleys and work surfaces on a fixed programme. Remove dust first, then wash and disinfect using a method suitable for hatchery use. If eggs are cleaned, use dry cleaning where possible and follow with controlled sanitation. Wet washing done badly can pull contamination through the shell, which is worse than leaving a light dust mark in some cases.
Staff hygiene matters just as much as chemicals. Clean boots, hands and clothing reduce the spread of bacteria between houses and the hatchery. Keep one-way movement where you can, from clean areas to dirty areas, not back and forth. A simple footbath is not enough on its own if trays, tables and hands are not kept clean too. That is the part many sites miss.
- Clean trays, rollers and trolleys after every batch.
- Use separate areas for dirty eggs and clean eggs.
- Keep pest control active around stores and loading points.
- Train staff to handle shell contamination as a food safety issue.
Track each batch from breeder house to setter
Traceability helps you spot problems early. When hatch results dip, you need to know which house, which flock, which date and which storage conditions were involved. Mark each batch clearly and keep written or digital records for collection time, storage length, room temperature, sanitation checks and set date. If one batch underperforms, the pattern often shows up in the records before it shows up in the chicks.
Good records also help with breeder management. If older flocks are producing weaker shells, or a certain house shows more floor eggs, your team can act sooner. In larger projects across Gauteng, Mpumalanga, Limpopo and beyond, this kind of batch control saves time and reduces waste. It also helps with municipal and farm audit requirements where process records are expected.
- Record house, flock age, date collected and date set.
- Note any power cuts, temperature swings or handling issues.
- Keep rejection counts for cracks, dirt and poor shell quality.
- Review results after every hatch cycle.
Set up staff routines that keep eggs safe every day
Egg handling works best when the routine is clear. Every person should know where eggs are collected, where they are checked, who approves the batch, and when they move to incubation. That reduces confusion during busy mornings and during summer peaks when egg numbers rise fast. It also helps new staff settle in quicker, especially on projects where houses are expanded in stages.
Train handlers to recognise the difference between a small shell mark and a crack that disqualifies an egg. Show them how to lift trays, keep batches separate, and report anything unusual straight away. Keep spare trays, labels, pens and cleaning materials close by so no one cuts corners because something is missing. A tidy workflow is not fancy, it just keeps the eggs right.
- Use a simple daily checklist for collection, sorting and storage.
- Assign one person to sign off each batch before setting.
- Keep training short, practical and repeated often.
- Review handling errors after each hatch and correct them quickly.
A practical pre-incubation checklist for hatchery teams
Before the eggs move into the setter, run a final check. Are the trays clean, is the batch labelled, and are the eggs within the right age window for storage? Is the room stable after load-shedding, and is the setter ready to receive the batch without delay? Small delays and poor timing can undo a lot of good work.
Use this final screen as part of your standard operating routine. It should be quick, consistent and written down where the team can see it. If you are handling eggs for commercial broilers, layers or replacement pullets, the same basics apply: clean, sorted, stored well and moved without shock. That is what protects hatchability and keeps the hatchery running properly.
- Batch labelled and traceable
- Shells clean and sound
- Storage time within target
- Room temperature stable
- Setter ready and checked
- Staff briefed for the next movement