
What a day-old chick unit must do in the first 7 days
The first week sets the tone for flock performance. Chicks must find heat, water and feed without stress, and the house must stay dry enough to stop chill and navel issues. In practical terms, that means even temperature across the brooding area, clear walking space for staff, and equipment that can be cleaned properly after every cycle.
In Gauteng, Mpumalanga, Limpopo and the coastal provinces we often see the same problem: houses are technically fitted out, but the air flow, floor slope or heater placement is wrong for day-old birds. A good unit is not just about buying brooding kit. It is about matching the equipment to the house size, stock density, turnaround time and the way your team works on site.
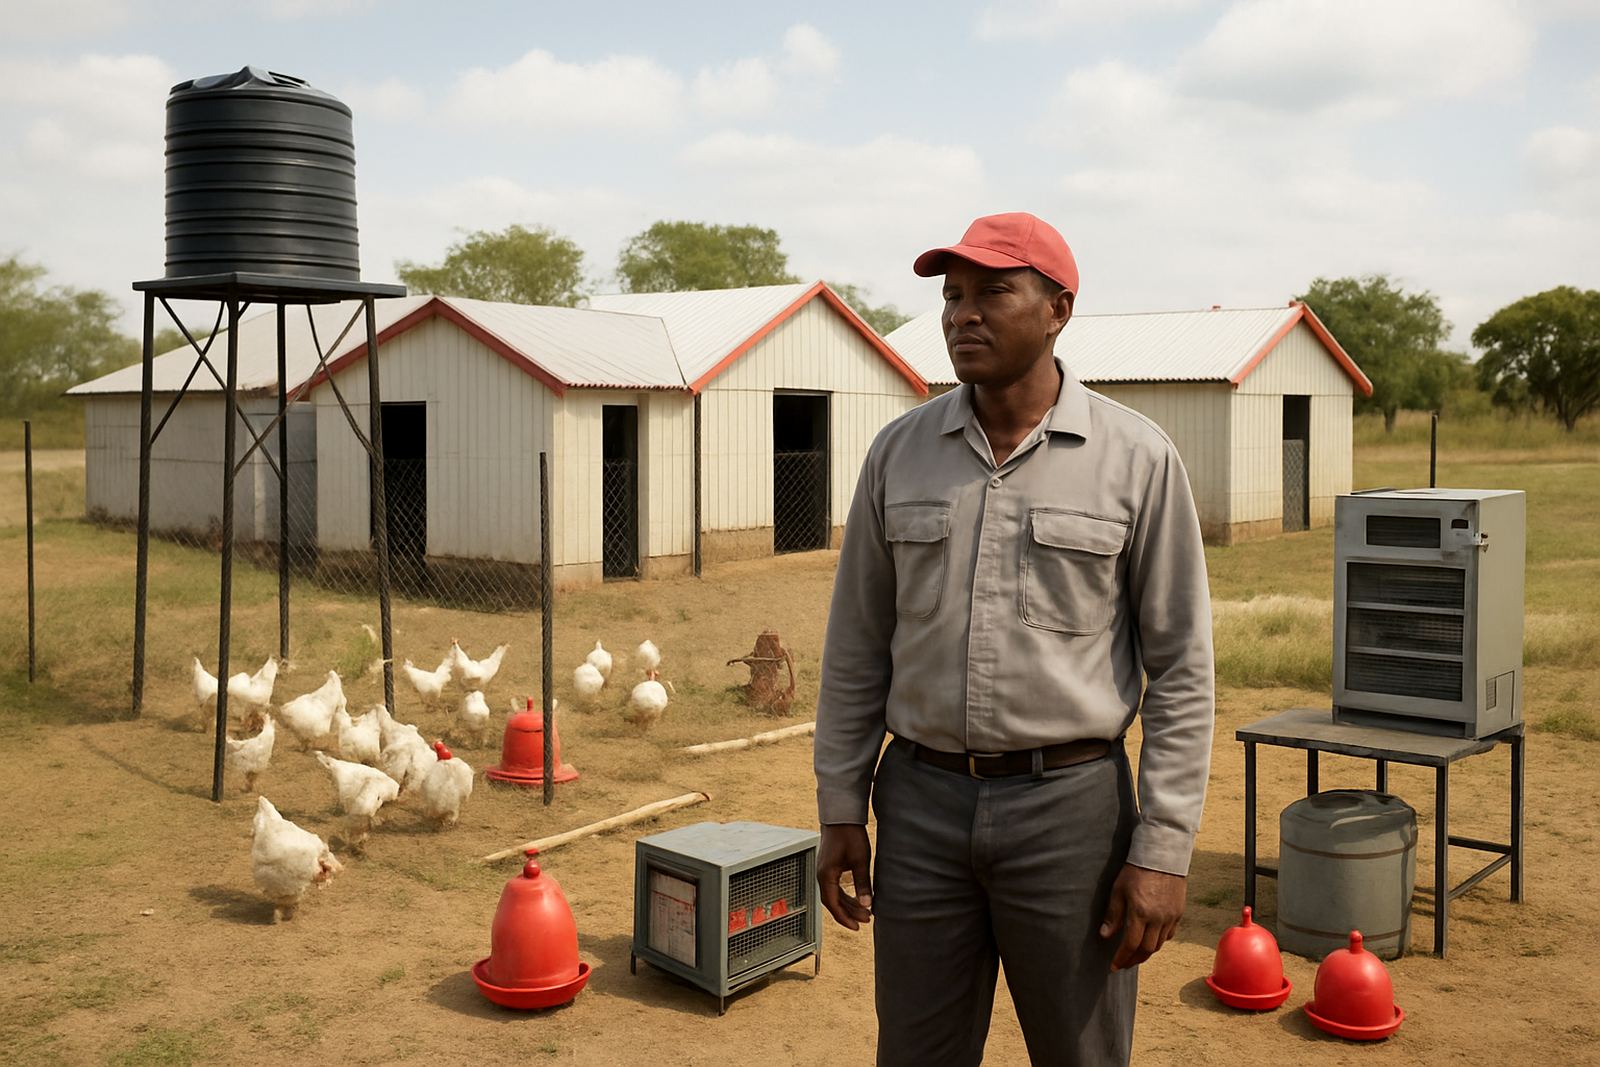
Typical equipment for a day-old chick unit
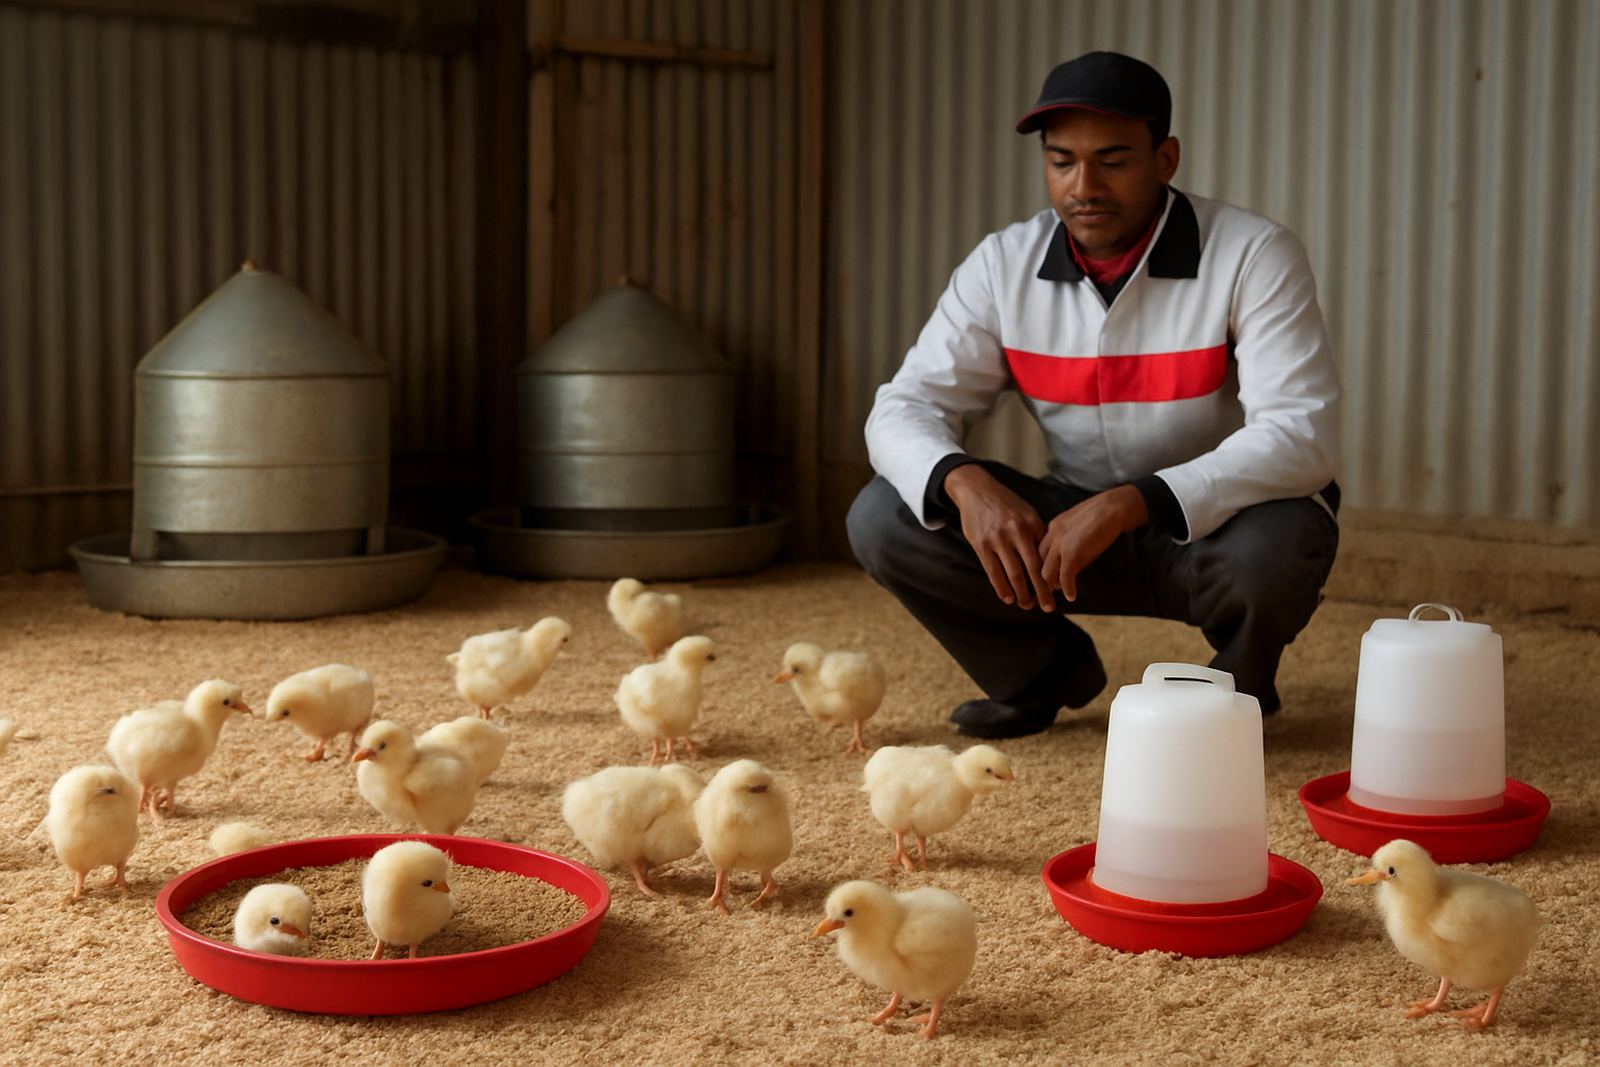
The exact set-up depends on whether you are raising layers or broilers, but most day-old chick units use the following core items:
- Brooders or heat sources sized to the house and winter conditions
- Starter feeders and chick trays for easy first feed access
- Drinking lines, bell drinkers or chick drinkers with correct height control
- Brood guards or chick rings for keeping birds close to heat and feed
- Thermometers and basic monitoring points at bird level
- Floor covering, bedding and spill control measures
- Back-up power planning for load-shedding and voltage dips
For larger sites we also look at holding space, disinfection points, washing access and a simple workflow for receiving chicks, checking counts and moving weak birds. If the unit feeds an adjacent rearing house, the layout should allow a clean, short transfer without crossing dirty areas.
Planning the house layout before you order equipment
Good planning starts with dimensions and movement. We look at house length, width, side wall height, roof insulation, inlet positions and where staff will enter with feed, crates and cleaning gear. The brooding zone should be easy to close off, heat quickly and keep draughts out. If the building is long, zoning is often better than trying to heat the entire floor area from day one.
Our team at Jet Park in Boksburg handles site planning, house layouts and equipment selection for projects across Gauteng, Mpumalanga, Limpopo, North West, Free State and KwaZulu-Natal. On new builds and upgrades, we also check drainage, electrical routing, hose points and the space needed for maintenance. Small layout mistakes become expensive later, especially when staff have to work around heaters or lift drinker lines every morning.
A practical layout will also consider municipal and fire safety rules where they apply, plus the realities of backup power. In many areas the unit has to cope with stage 2 or stage 4 load-shedding, so battery support, generator connection points or gas storage planning should be sorted before commissioning.
Common mistakes that push up mortality and labour
Most early chick problems come from basic setup errors rather than poor birds. Chicks do not forgive cold spots, wet litter or badly placed drinkers. We often see the same issues repeated on small and medium farms:
- Heat sources placed too far apart, leaving cold corners
- Too much open floor area on day 1, so chicks spread out and stop feeding
- Drinker height too low, causing wet bedding and dirty navels
- Feed trays not filled evenly, which slows intake in the first 24 hours
- Poor ventilation control that creates draughts at bird level
- No written start-up routine for staff, so checks are missed at night
Another common problem is buying equipment in stages without a proper house plan. That often leads to mismatched line spacing, poor access for cleaning and extra labour every cycle. If the house is going to expand later, it is better to allow for that from the beginning instead of cutting and shifting lines afterwards.
Budget ranges for day-old chick units
Costs depend on house size, whether you are fitting a new build or upgrading an existing house, and the level of automation you want. As a working guide, a small manual brooding set-up can start from about R45 000 to R120 000 for basic heating, drinkers, feeders and controls, excluding building work. A mid-size unit with better zoning, improved water control and stronger back-up planning often sits between R120 000 and R350 000.
For larger commercial projects with house planning, installation supervision, commissioning and training, budgets can move from R350 000 into seven figures depending on capacity, structural work and processing or rearing links. Ongoing spares, service and maintenance also matter. A cheaper start that fails after one winter usually costs more in the end, especially where humidity is high or power supply is unstable.
We normally help clients separate once-off capital items from running costs such as gas, electricity, bedding, disinfectants and spare nipples or fittings. That makes it easier to compare options and plan cash flow for the first three production cycles.
Support that keeps the unit working after commissioning
A day-old chick unit should not run on guesswork after handover. Our service includes installation supervision, commissioning, operator training, maintenance programmes and spares supply, so the team knows how to start, check and shut down the system properly. Thabo Nkosi supports service scheduling, while Anika van der Merwe handles technical sales and Musa Cele leads training and support on the ground.
When clients expand, we also look at rearing upgrades, extra lines and processing room fitout where the poultry project includes later-stage handling. If you are building from scratch or improving an older site in Boksburg, Standerton, Nelspruit, Polokwane, Klerksdorp, Bloemfontein or Durban inland routes, the goal is the same: dry birds, steady intake and a house that your staff can manage every day without unnecessary strain.